
Welcome to this month’s Ink, Stamp, Share Monthly Blog Hop
The theme this month is Pick a Suite
When a new catalogue is launched I normally do not pick a suite as it cam be a bit expensive for my customers. But in the January to June 2022 mini catalogue I just fell in love with the Sweet Talk Suite Collection as the suite reminded me of the Love Heart sweets. I decided that I would use this suite to make a valentine’s day card and matching gift box. Normally I am making a valentines card for my husband the day before valentines day but this year I am well prepared.
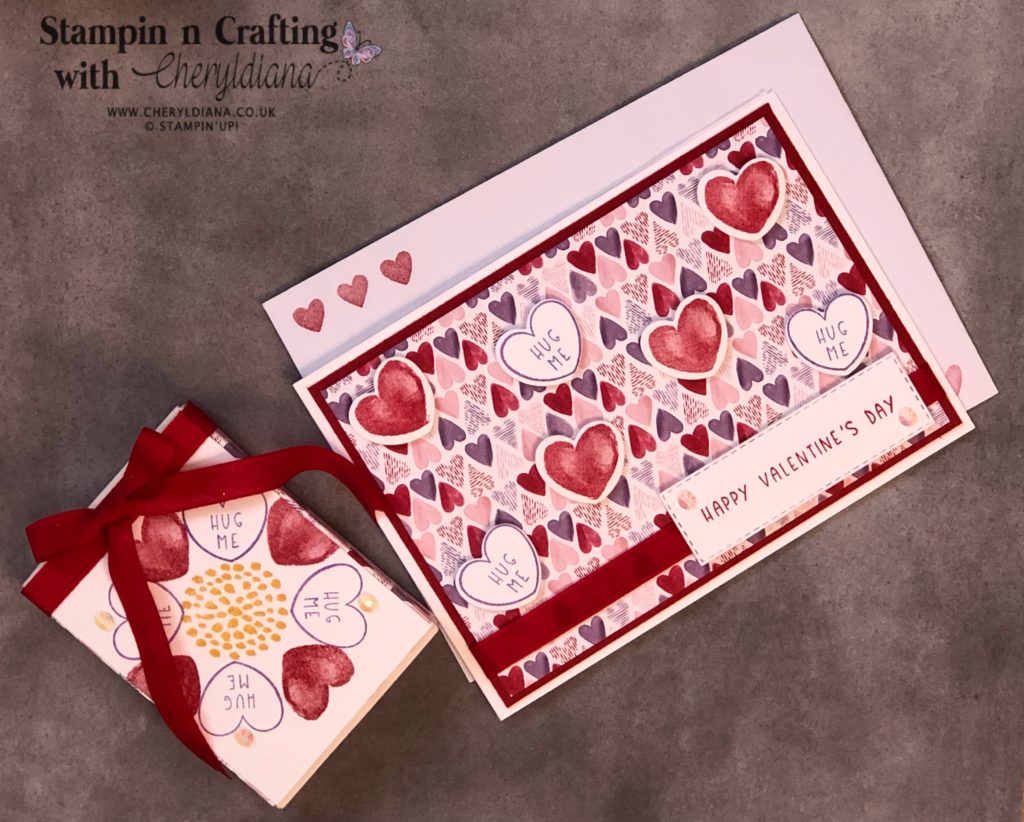
How to make the Valentine’s Day Card
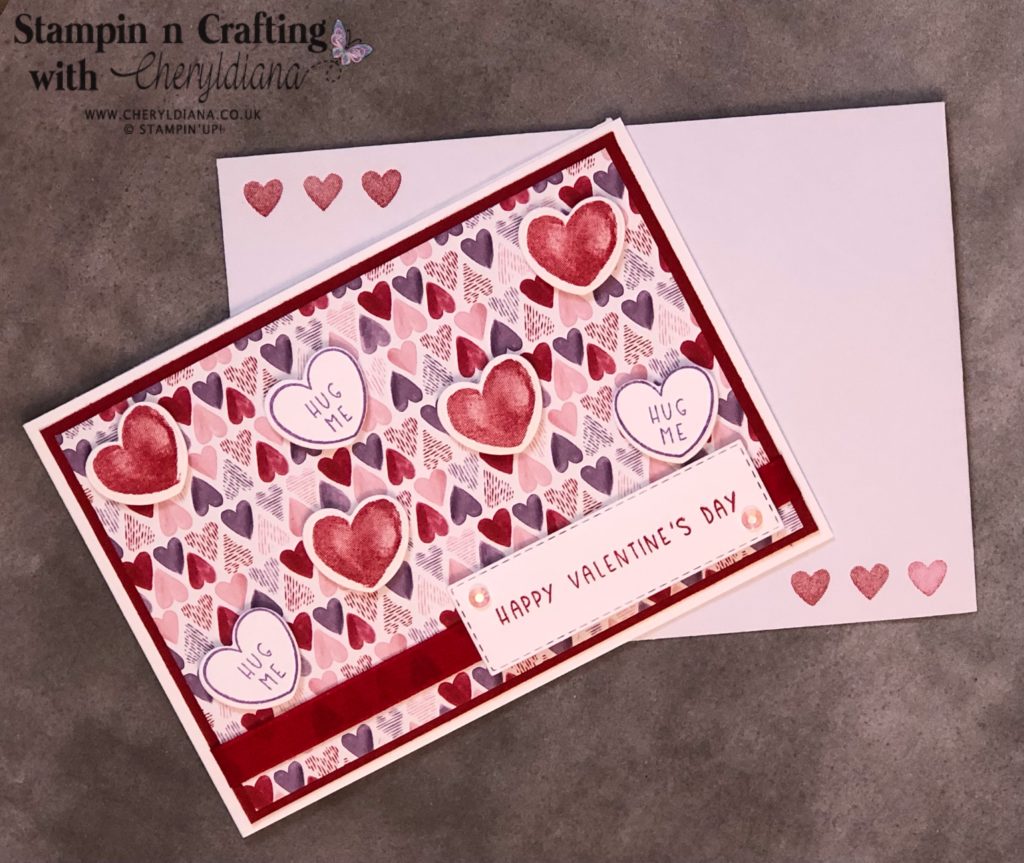
I started by cutting a piece of Basic White Thick card stock in half along the short edge at 10.5cm. Next I scored it at 14.85cm to make a landscape card base.
I then cut a 10cm x 14.3cm piece of Real Red card stock to make a mat layer. Next I cut a piece of the Sweet Talk 12″x12″ designer series paper and stuck this onto the mat layer. I then took a piece of Real Red 3/8″ Faux Linen ribbon and fixed the ends to the back of the mat layer using glue dots. Next I stuck the mat layer onto the card base.
To decorate the card front I stamped and die cut the heart images using Highland Heather ink and Real Red ink. I then added them to the card front using Stampin’ Dimensionals.
For the sentiment I die cut a scrap of Basic White card stock using the Stitched Rectangle dies. I then stamped the Happy Valentines Day sentiment onto it using Real Red ink and added to the card front using Stampin’ Dimensionals.
To finish off the card I added some Iridescent Rhinestone Basic Jewels.
How to stamp the Inside of the Valentines Day Card and matching envelope
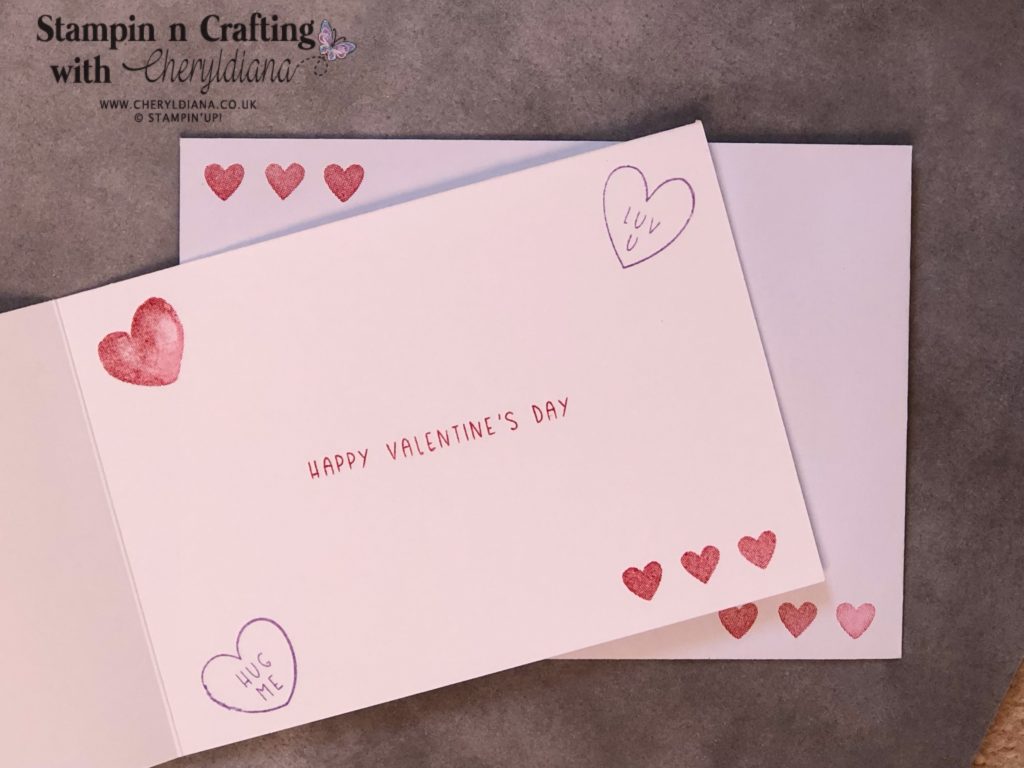
For the inside of the card I stamped various hearts and the Happy Valentine’s Day sentiment using Real Red ink and Highland Heather ink. For the envelope I stamped the image of three hearts to the top left had side and bottom right hand side of the envelope.
How to make the matching gift box
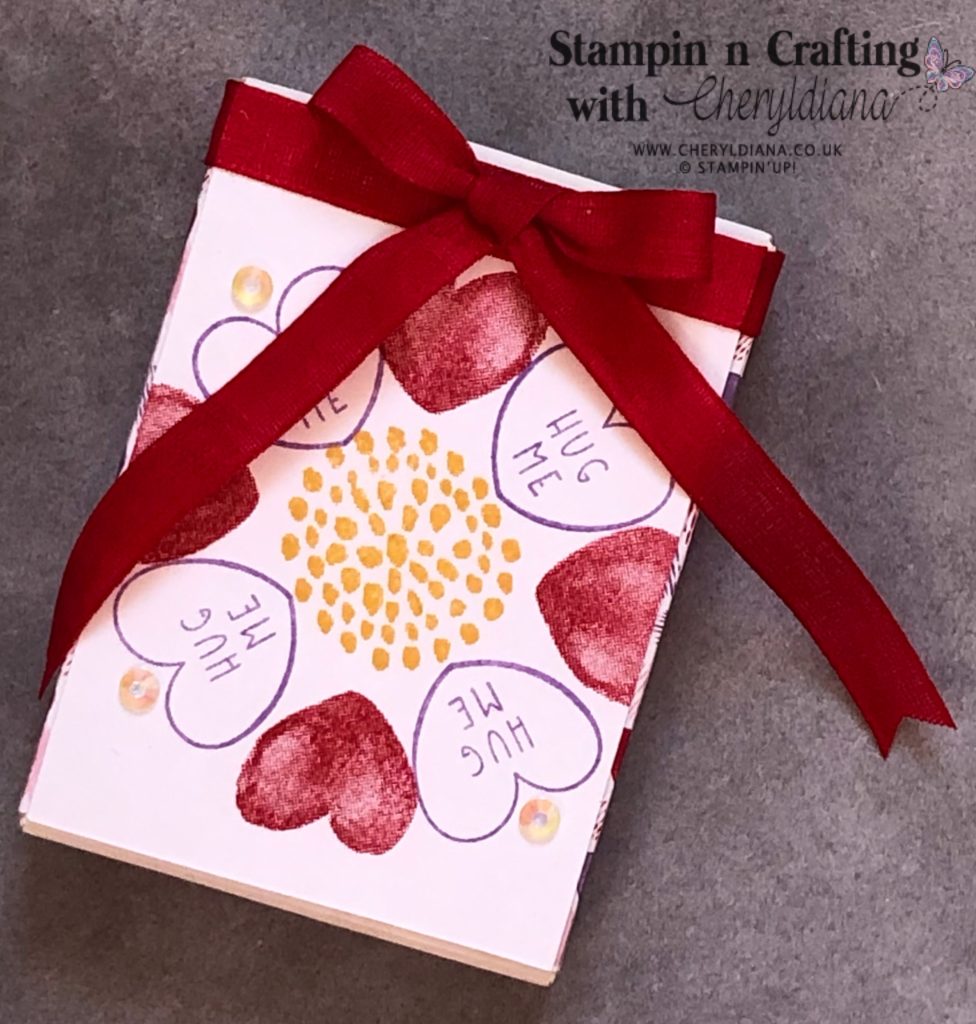
As soon as I saw the dotty circle image it made me think of the centre of a flower and the hearts the petals.
First I made up one of the Sweet Little Boxes. Next I cut a piece of Basic White card stock mat layer to fit on the front side. I then stamped the flower centre using So Saffron ink and the hearts using Real Red ink and Highland Heather ink. You will notice how I have stamped the same heart image in the same ink all the way through.
Next I cut a piece of DSP to fit around the box and stuck it onto the box making sure the seam was on the front side. This seam will be hidden by the stamped mat layer.
I then took a piece of Real Red 3/8″ Faux Linen ribbon and fixed the one end to the back of the mat layer using a glue dot. Next I stuck the mat layer onto the front of the box leaving a gap where the ribbon was joined. I then wound the ribbon around the box and fixed it to the back of the mat layer using a glue dot so the end is hidden.
Finally I added a bow and some Iridescent Rhinestone Jewels to the front of the box.
I hope you have enjoyed seeing how I have used the Sweet Talk Suite Collection to make a Valentine’s Day Card and matching Gift Box
Click Here for my Facebook Page.
Until next time, keep stampin n crafting,

Please click on the NEXT button to visit the wonderful Victoria and see what lovely project she has come up with for our theme Pick a Suite.
Blog Hop List
- Jo Blackman
- Dana Sullivan
- Sue McDonald
- Kim Price
- Susan Simpson
- Nicole Mahler
- Annette Elias
- Kirsty Pattrick
- Gez Carpenter
- Tricia Butts
- Jill Chapman
- Stacey Marsh
- Mo Rootes
- Karen Egan
- Rochelle Laird-Smith
- Donna Lester
- Cindy Mitchell-Clark
- Cheryl Diana – YOU ARE HERE
- Victoria Littlewood
- Angie McKenzie
- Linda Moore
Product List
FREE TUTORIAL WITH EVERY ORDER
When shopping through my Stampin’ Up! online shop, you will receive an FREE TUTORIAL of 6 simple card ideas. Learn more!
Spend over £45 (before postage and packing) and also receive another FREE Tutorial with 14 more detailed giftable ideas. Learn more!

Wish to Order. Click here to shop
Thank you for shopping with me!
Remember for every order over £20.00 you will receive 10% rewards to use on your next order.
- Why not grab a bargain at the Last Chance Products – Save up to 60% ‘whilst stocks last’.
- For beginner crafters, crafting on the move or as a gift then have a look at our Kits Collection. Each month there are two NEW Kits to choose from.
- For even more options on top of what is in the catalogue have a look at the Online Exclusive selection.

I am an Independent Stampin’ Up! demonstrator for the UK, Ireland, France, Belgium, The Netherlands, Germany and Austria.
Postage is a flat rate of £6.95 / €7.95. Shop for your Stampin’ Up! products here.
Do you need any help?
If you have any questions or need any help with an order then please email me.
Join my Team with a Starter Kit
I would love you to join my team of A Kaleidoscope of Stampers. We are a wonderful, friendly group of crafters who love getting discounts on our hobby or even run a part time or full time business sharing Stampin’ Up! products.
You can find out more here or join straight away.









Beautiful projects, thank you for sharing x
Love these! Great minds think alike 🙂
Such pretty ideas, thank you for sharing with us
Cute gift box
Such a sweet little box and card combo Cheryl, so pretty x
Very cute, really like your projects x
Love how you decorated the box, Cheryl. Thanks for the inspiration.
I love the sweet little box! It’s SO cute. Your card is very lovely too. I can tell you had fun making these.