Welcome to the Scrapbooking Global Blog Hop.
The theme this month is: Use this Title – My Guilty Pleasure.
The theme for this month has been decided by the talented Sharon Dalton.
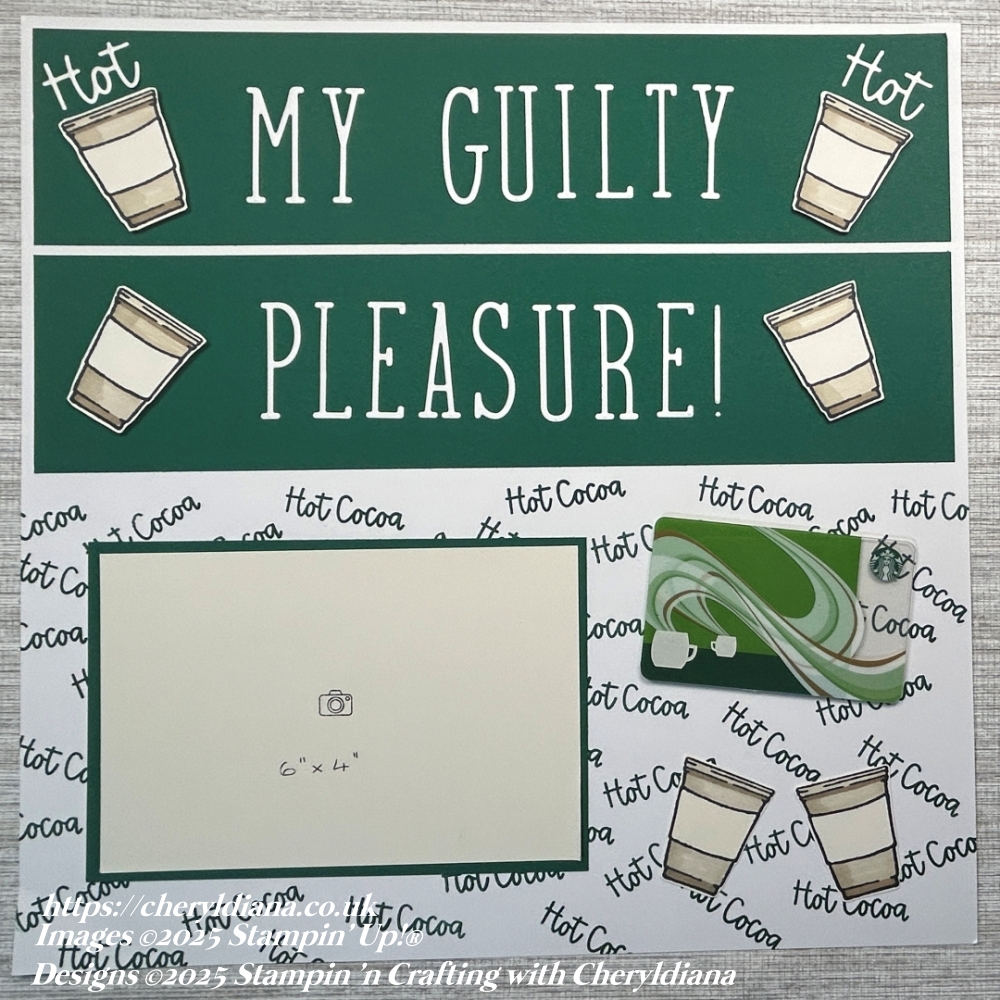
This month I decided that I would use a simple stamped background for my double layout. This is an ideal way to make it your own tailormade background and useful if you do not have any papers that fit your topic. My Guilty Pleasure as most people know is that I love a certain drinks company’s Hot Chocolate. While most people choose to have the cream and marsh mellows with it I prefer mine extra hot without cream. I also try to plan my trips out so that I can stop off and get one of my hot chocolate drinks and of course there is one near to where I work.
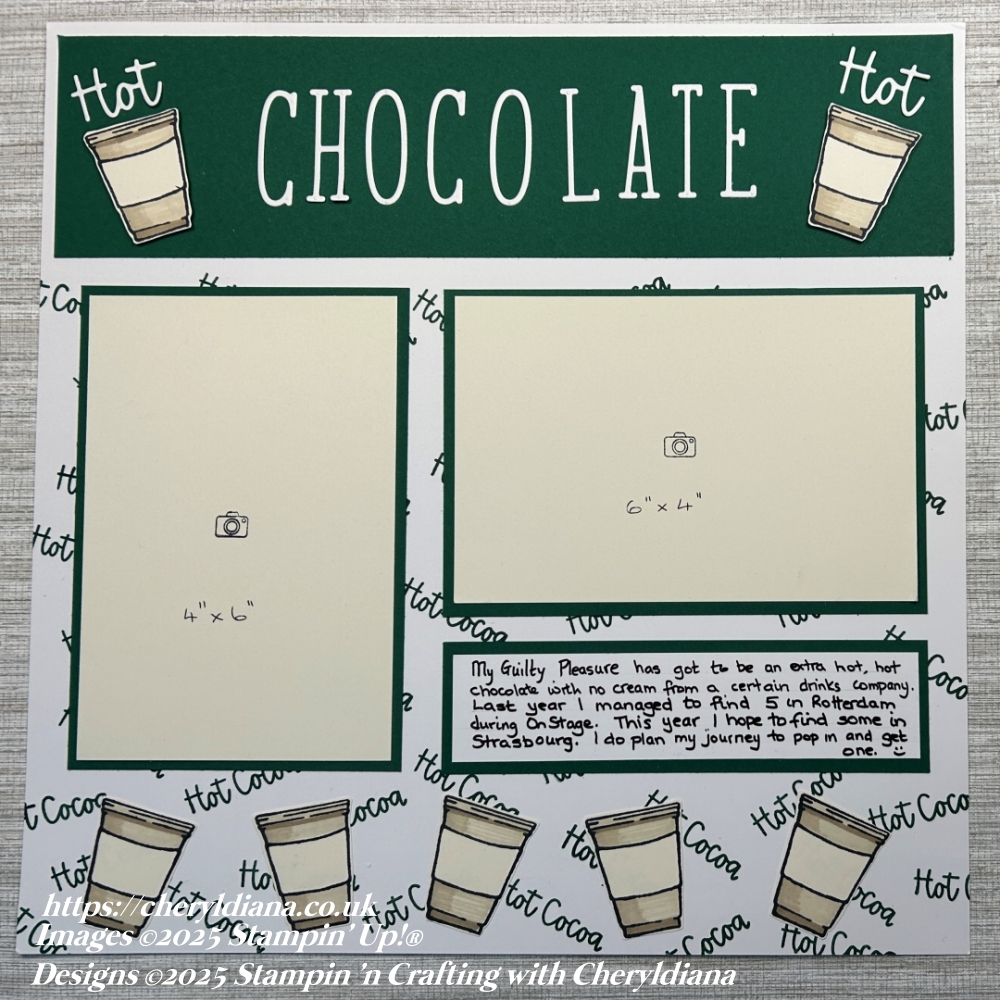
How I made my simple stamped background Title page.
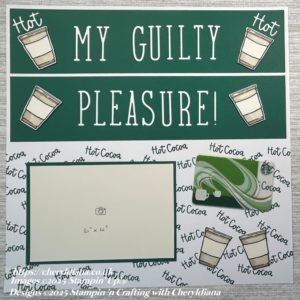
I decided that I wanted to use my favourite drinks company brand colours or as near as I could get them using our Stampin’ Up! colours so I chose to use Basic White as my base colour. I then cut an A4 piece of Shaded Spruce card stock into three 7cm long strips so that I could use two for my Title layout and one for the second layout.
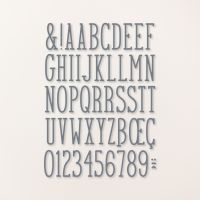
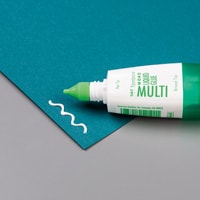
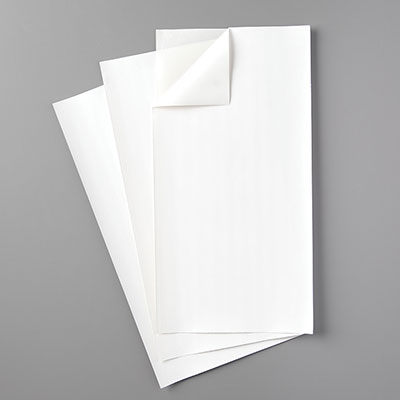
I decided to use the Alphabet a La Mode dies as these are thinner and my titles were quite long. Before I die cut out the letters for my ‘MY GUILTY PLEASURE!’ title I added pieces of Adhesive Sheet to the back of the Basic White card stock. This made it easier to stick down the letters to two of the strips of Shaded Spruce card stock before sticking them onto my 12×12 Basic White card stock.
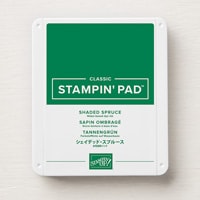
Next using the Shaded Spruce ink and the ‘Hot Cocoa’ sentiment I stamped loads of these underneath the title strips in a random pattern to make my own simple stamped background.
I then cut a mat layer out of Shaded Spruce card stock a little bit bigger than a 6″x4″ photograph and stuck that to the bottom left hand side of the layout.
How I made my second simple stamped background page.
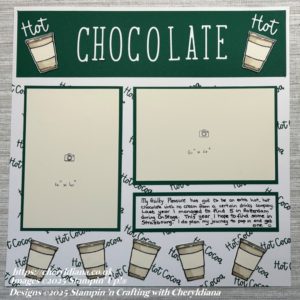
First I die cut out the letters to make my ‘Hot Chocolate’ heading using Basic White card stock and added them to the remaining piece of Shaded Spruce card stock before adding to the top of my second piece of 12×12 Basic White card stock.
Again I stamped the sentiment ‘Hot Cocoa’ underneath the heading again in a random pattern using Shaded Spruce ink. I then cut out two Shaded Spruce mat layers for my photographs and stuck them on to my layout. Next I used a scrap of Shaded Spruce card stock as a mat layer for my journaling and a scrap of Basic White card stock to write my journaling on. This I stuck to the right hand side of my layout and underneath the photograph mat layer.
Adding Embellishments to my Simple Stamped Background.

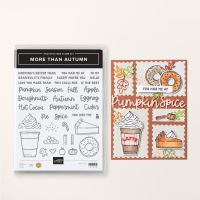
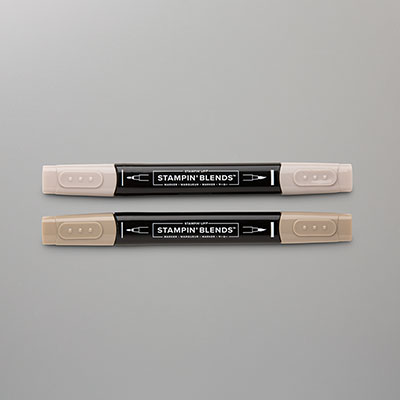
First I stamped out the 13 cups using the cup stamp from the More Than Autumn stamp set onto Very Vanilla card stock and Black Memento ink. Next I coloured them in using both the Light and Dark Crumb Cake Blends and fussy cut them out. I could have die cut them out but it was quicker to just fussy cut them out.
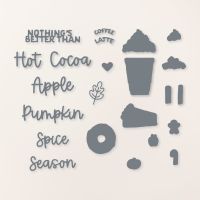
I next die cut the ‘Hot’ words from the More Than Autumn dies using Basic White card stock (again with Adhesive Sheet on the back). I chose to have two lots on each layout as I do line my Hot Chocolate extra hot. I stuck the words at an angle in the top corners of each title/heading. Next I added one of the coloured in cups underneath each word using Stampin’ Dimensionals. I also added another two cups to the ‘PLEASURE’ title again using Stampin’ Dimensionals.
Using the remaining coloured in cups I added two to the bottom right hand side of the Title layout and five along the bottom of my second layout. Finally I added one of my Starbucks Gift Cards to the Title layout.
I do hope you have enjoyed seeing how I made both of my layouts using a simple stamped background to share with you what My Guilty Pleasure is. Why not have a go at making a layout for yourself using a simple stamped background and share your layouts onto my Facebook page.
Click Here for my Facebook Page.
Until next time, keep stampin n crafting,
Please click on the NEXT button to visit the wonderful Sharon to see her ‘My Guilty Pleasure’ scrapbook layout. Please remember to leave comments as you visit each person. Thank you.
Blog Hop List
Product List
FREE TUTORIAL WITH EVERY ORDER
When shopping through my Stampin’ Up! online shop, you will receive an FREE TUTORIAL of 6 simple card ideas. Learn more!
Spend over £45 (before postage and packing) and also receive another FREE Tutorial with 14 more detailed giftable ideas. Learn more!
Wish to Order. Click here to shop
Thank you for shopping with me!
Remember for every order over £20.00 you will receive 10% rewards to use on your next order.
- Why not grab a bargain at the Last Chance Products – Save up to 60% ‘whilst stocks last’.
- For beginner crafters, crafting on the move or as a gift then have a look at our Kits Collection. Each month there are two NEW Kits to choose from.
- For even more options on top of what is in the catalogue have a look at the Online Exclusive selection.

I am an Independent Stampin’ Up! demonstrator for the UK, Ireland, France, Belgium, The Netherlands, Germany and Austria.
Postage is a flat rate of £6.95 / €7.95. Shop for your Stampin’ Up! products here.
Do you need any help?
If you have any questions or need any help with an order then please email me.
Join my Team with a Starter Kit
I would love you to join my team of A Kaleidoscope of Stampers. We are a wonderful, friendly group of crafters who love getting discounts on our hobby or even run a part time or full time business sharing Stampin’ Up! products.
You can find out more here or join straight away.






We are twins!! Same guilty pleasure! Love all the background stamping and those cute cups!!
Great job! I like that you stamped your background, it gives a great support to your theme.
Awesome Double layout with this stamped background <3 Thanks for joining in the blog hop <3 Cheers Shaz
I never think to stamp my own background paper! This is a great reminder. AND it was so smart to use the adhesive sheet before you cut out the letters!