
Welcome to this month’s Tech 4 Stampers Academy Blog Hop.
The theme this month is For the Men.
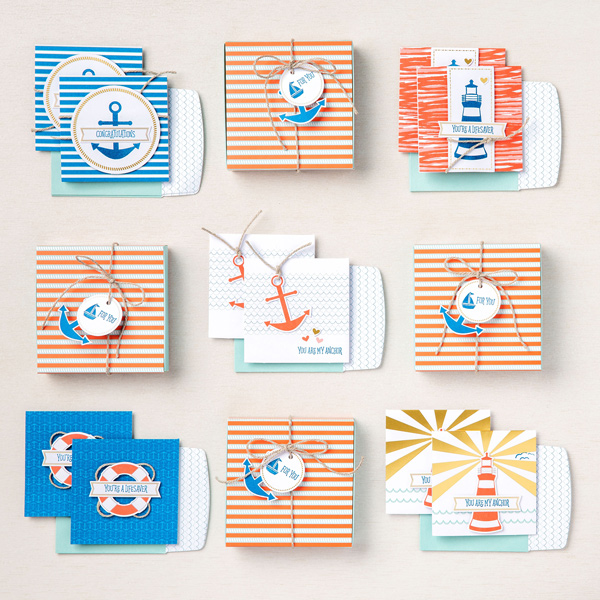
This month I decided to change the Male Birthday Card I made for another Blog Hop by using the stamps from one of our Kits to make a Male Congratulations Card. The Kit I decided to use was ‘You Are My Anchor’ which is a set of 5 mini cards in a box all with a nautical theme. I love using Kits as everything you need is included.
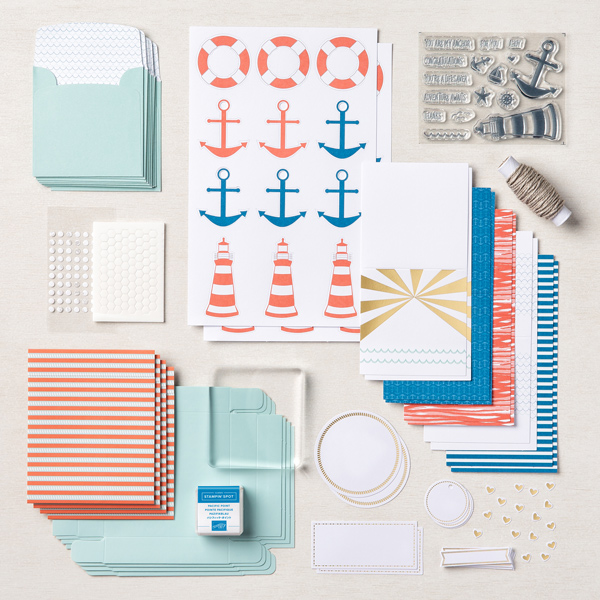
In the ‘You Are My Anchor’ kit you get die cuts, mini stamp set, a slim acrylic block, a Stampin’ Spot, embellishments, glue dots and dimensionals also enough card and envelopes to make 20 mini cards and 4 boxes to but them in.
How I made my Male Celebration Card.
First I cut a portrait A6 card base using Basic White card stock. Then I cut a mat layer using Boho Blue.
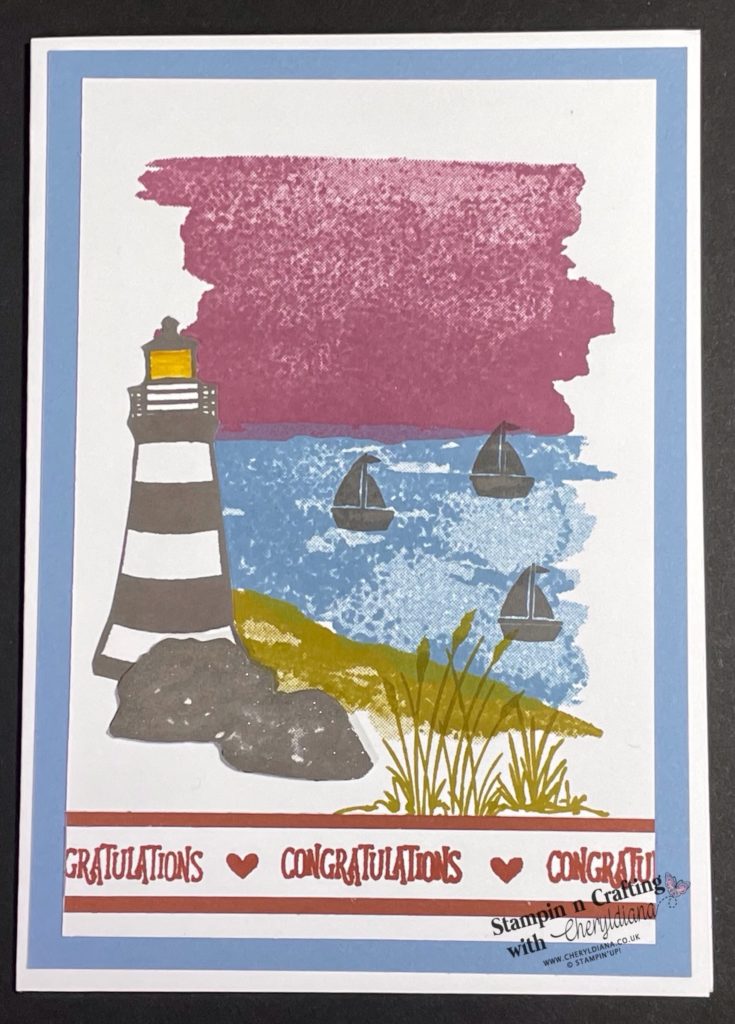
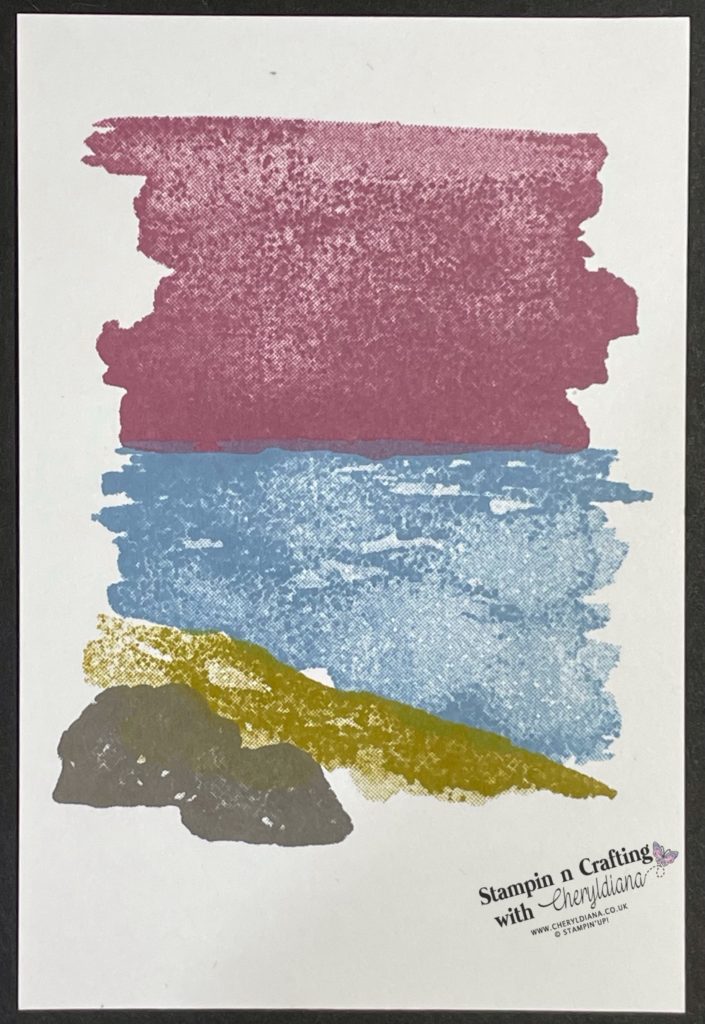
Next I cut a Basic White mat layer to stamp on. Using the new InColor ink pads and the Oceanfront stamp set I stamped the images onto the Basic White mat layer. I used the Moody Mauve for the sky, Boho Blue for the sea, Wild Wheat for the sand and Pebbled Path for the rocks. I love how our NEW 2023-2025 InColors go so well together. Next I stuck the stamped mat layer onto Boho Blue mat layer and then the card base.
How I changed my previous Male Birthday card idea into my Male Celebration Card
First I stamped the Lighthouse image onto a piece of Basic White card stock using Pebbled Path ink. Next I stamped the double rock image onto a piece of Basic White card stock again using Pebbled Path ink. I then fussy cut out the stamped images. Next I coloured in the light house light using the Crushed Curry Stampin’ Write Marker. I then stuck the light house onto the card front. Next I added the rocks to the card front using Stampin’ Dimensionals and added some Wink of Stella to make the rocks look like minerals. I then stamped three boats using Pebbled Path ink. Finally I stamped some of the grass images at the bottom of the beach using Wild Wheat.

How I made my sentiment layer
First I stamped a row of Congratulations onto a strip piece of Basic White cardstock using Copper Clay ink. I left a gap between each word so that I could add in a stamped heart. Next I cut a mat layer strip of Copper Clay card stock and stuck the sentiment strip on top of it. Finally I added the sentiment strip to the bottom of the card leaving a small gap at the bottom.
I hope you have loved seeing how I changed 1 card into another card just by using the stamps from one of our kits. Why not use a kit to make different cards and share them onto my Facebook page. Or if you have never used one of the Stampin’ Up! Kits then plerase try them out.
Of course I would love to see what you make so please do pop a picture onto my Facebook page.
Click Here for my Facebook Page.
Until next time, keep stampin n crafting,

PLEASE NOTE: Due to a recent change in my Demonstratorship, the Product List links may no longer take you directly to the correct products. If you would like to view a product in more detail or place an order, please use the Shop Button below.

Please click on the names below to visit each website and see what lovely projects the others have designed for their For The Men Blog Hop. Please do leave comments as you visit each one. Thank you.
Blog Hop List
Product List

")


FREE TUTORIAL WITH EVERY ORDER
When shopping through my Stampin’ Up! online shop, you will receive an FREE TUTORIAL of 6 simple card ideas. Learn more!
Spend over £45 (before postage and packing) and also receive another FREE Tutorial with 14 more detailed tutorials. Learn more!
Wish to Order. Click here to shop
Thank you for shopping with me!
Remember for every order over £20.00 you will receive 10% rewards to use on your next order.
- Why not subscribe to Paper Pumpkin and get a different surprise kit each month through the post. The monthly subscription price also includes postage.
- For beginner crafters, crafting on the move or as a gift then have a look at our Kits Collection. Each month there are two NEW Kits to choose from.
- For even more options on top of what is in the catalogue have a look at the Online Exclusive selection.

I am an Independent Stampin’ Up! demonstrator for the UK, Ireland, France, Belgium, The Netherlands, Germany and Austria.
Postage is a flat rate of £6.95 / €7.95. Shop for your Stampin’ Up! products here.
Do you need any help?
If you have any questions or need any help with an order then please email me.
Join my Team with a Starter Kit
I would love you to join my team of A Kaleidoscope of Stampers. We are a wonderful, friendly group of crafters who love getting discounts on our hobby or even run a part time or full time business sharing Stampin’ Up! products.
You can find out more here or join straight away.


What a great idea! I always forget about the stamps from kits.
Thanks for inspiration using kit stamps with stamps from the Annual Catalogue!
I love your background as I have been wanting to try it with that stamp set.
You’ve reminded me to remember to think of wider uses for our lovely kits. Thank you.
Great use of bits from kits.
Great ideas to use up those kits stamps Cheryl