
Welcome to this month’s Ink, Stamp, Share Monthly Blog Hop.
The theme this month is Autumn.
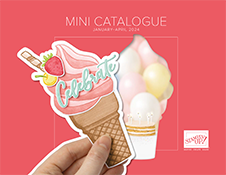
For this blog hop I decided to show you how to use stencils to make a card. We currently have some wonderful stencils in the Mini Catalogue called Abundant Beauty Decorative Masks. One of them is a lovely stencil of leaves so I decided to make two Thank You cards.
How I used the stencils to make Card 1
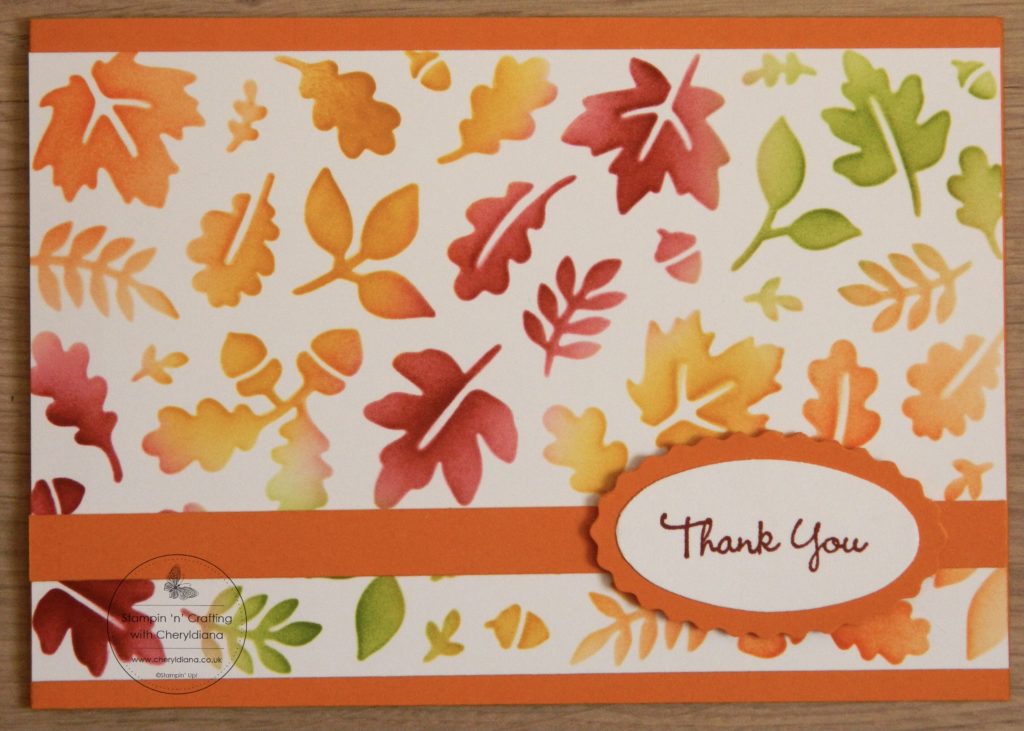
I started by cutting a piece A4 Pumpkin Pie card stock in half at 10.5cm and scoring at 14.85cm to make a landscape card base. Next I cut a Basic White mat layer and put it onto a scrap of paper before sticking the stencil over it using low tack tape. Now comes the fun bit. Using Real Red ink, Pumpkin Pie ink, Garden Green ink and Crushed Curry ink I blended each ink over the stencil using a blending brush. It did not matter if the colours overlapped as this made the leaves look even more autumnal and of course leaves are never the same as another leaf.
Once I was happy with my blending I removed the stencil and stuck the stamped mat layer onto the card base. I then cut a strip of Pumpkin Pie card stock and stuck it across the card front towards the bottom.
For the sentiment I used one of the Thank You sentiments from the Go To Greetings stamp set. First I stamped the sentiment onto Basic White card stock and then punched it out using the Double Oval Punch. I then cut the larger oval using Pumpkin Pie card stock. Finally I stuck the two ovals together and added them to the card front using Stampin’ Dimensionals.
How I used the stencils to make Card 2
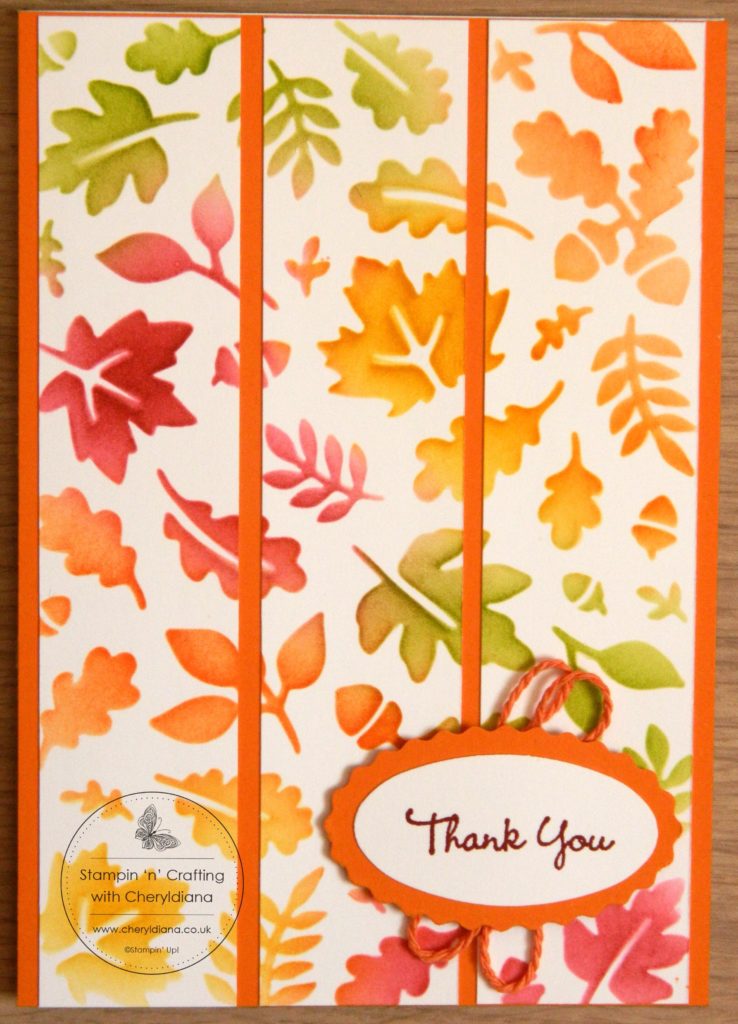
For card 2 I cut a portrait Basic White card base. Next I cut a Pumpkin Pie mat layer the same size as the card front. I then cut a mat layer using Basic White card stock. Again I put this piece onto a scrap of paper and taped the stencil on top of it using low tack tape. Using the same colour inks I blended each colour using a blending brush.
Once I was happy I cut this mat layer into three strips and stuck them onto the front of the card leaving a gap between each strip.
For the sentiment I again used the Double Oval Punch but before adding the sentiment to the card front I added some of the Pumpkin Pie twine from the Three Twine Combo Pack which is now available on our Clearance Rack.
I hope you have enjoyed seeing how quick and easy it was to use this stencil to make cards. Don’t you just love the range of colours the leaves turned out. Why not have a go at using a stencil to make your cards and please do share them onto my Facebook Group.
Until next time, keep stampin n crafting,

Please click on the names below to visit each website and see what lovely projects the others have designed for their Autumn Blog Hop. Please do leave comments as you visit each one. Thank you..
Blog Hop List
Product List
ADDITIONAL INFORMATION
- Request a free catalogue – click to request a Stampin’ Up! catalogue on the Contact me at the top of my home page.
- Go straight to my On-Line Shop
- April’s Shop code is QNFCYZXW – Please use this when your order is less than £149
- If your order is over £150, please do not use this code.
- Remember when placing a large order or wanting to host a party then you will also get Stampin’ Rewards for any orders or party orders over £150.
- Coordinating Bundles – Save 10% on stamp sets and with matching dies or punches
- Grab a bargain at the Clearance Rack – Save up to 60% ‘whilst stocks last’
- Newsletter – Sign up for my newsletter, classes and latest special offers by clicking on the button on the right hand side of your screen
- Join Now – Get £130 worth of products for only £99. Choose from current catalogues and any specials available. Free shipping and special demonstrator benefits








Both are pretty, but I really like the long strips!! Great job with the stencils!!
Such bright and vibrant colors, they work beautifully for the season:-)
great cards to showcase the masks Cheryl