Welcome to this month’s Stamptastic Friends Blog Hop.
This Month’s Theme is New/Returning Colours.
For this month’s project I decided to make a Diamond Pop Up Birthday card. I was lucky to attend a Retreat with the wonderful Pip Todman, who was one of the founding members of Stamptastic Friends, yesterday where we made a Diamond Pop Up card.
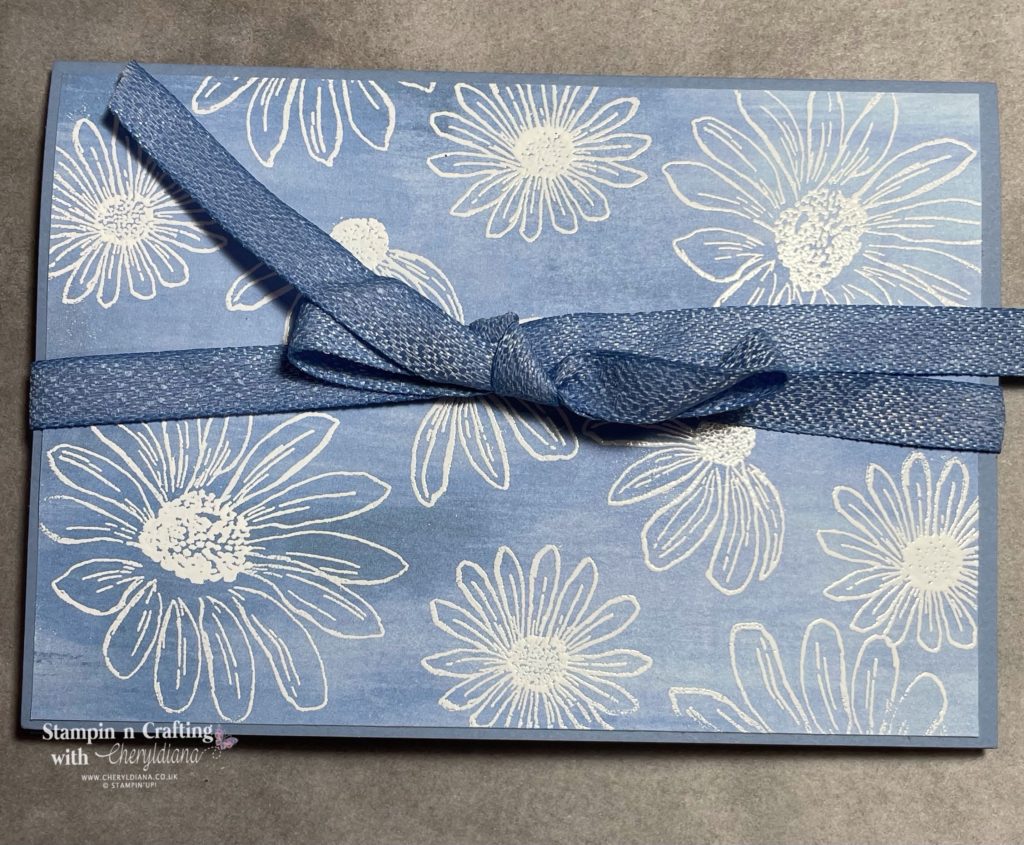
How I made the Diamond Pop Up Birthday Card.
First I cut a A5 tent fold card base using Boho Blue card stock. I then cut out a mat layer using the blue patterned designer series paper from the Fresh as a Daisy DSP. Next I used the Cheerful Daisies stamp set and Versamark Clear ink to stamp the daisy images onto this mat layer before heat embossing it using Clear Embossing Powder. I then attached it to the card front.
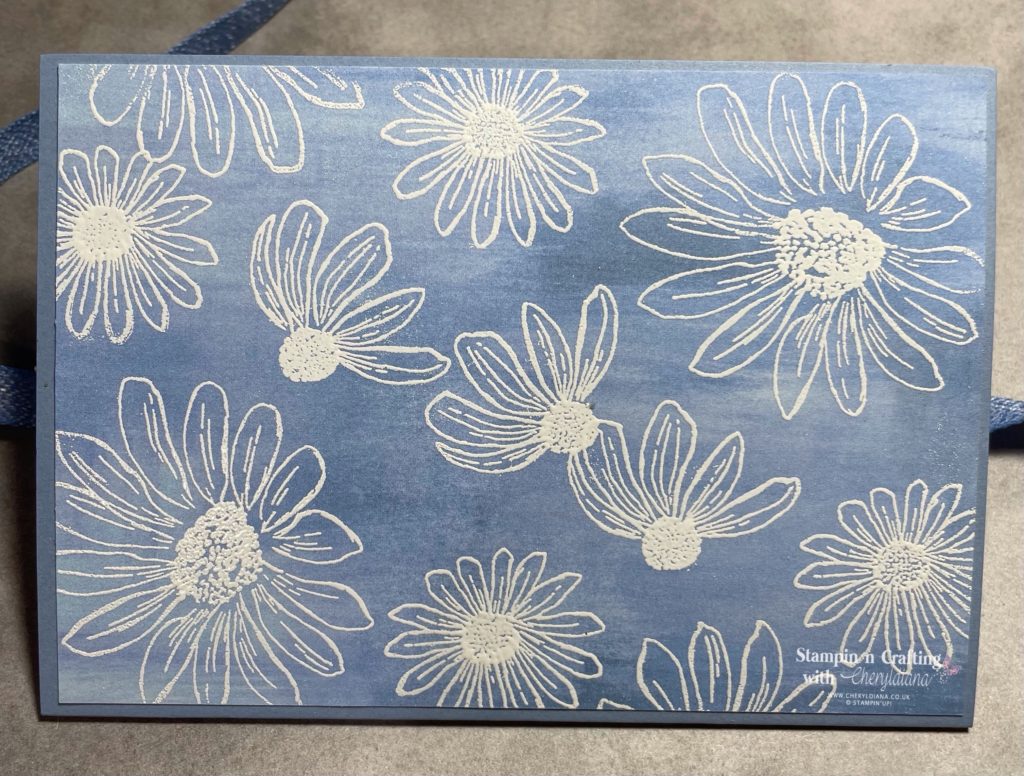
I then turned the card base over and stuck another piece of Fresh as a Daisy DSP to the inside covering both sides with one sheet of DSP.
How I made the Diamond Fold for the inside of my Diamond Pop Up Birthday card.
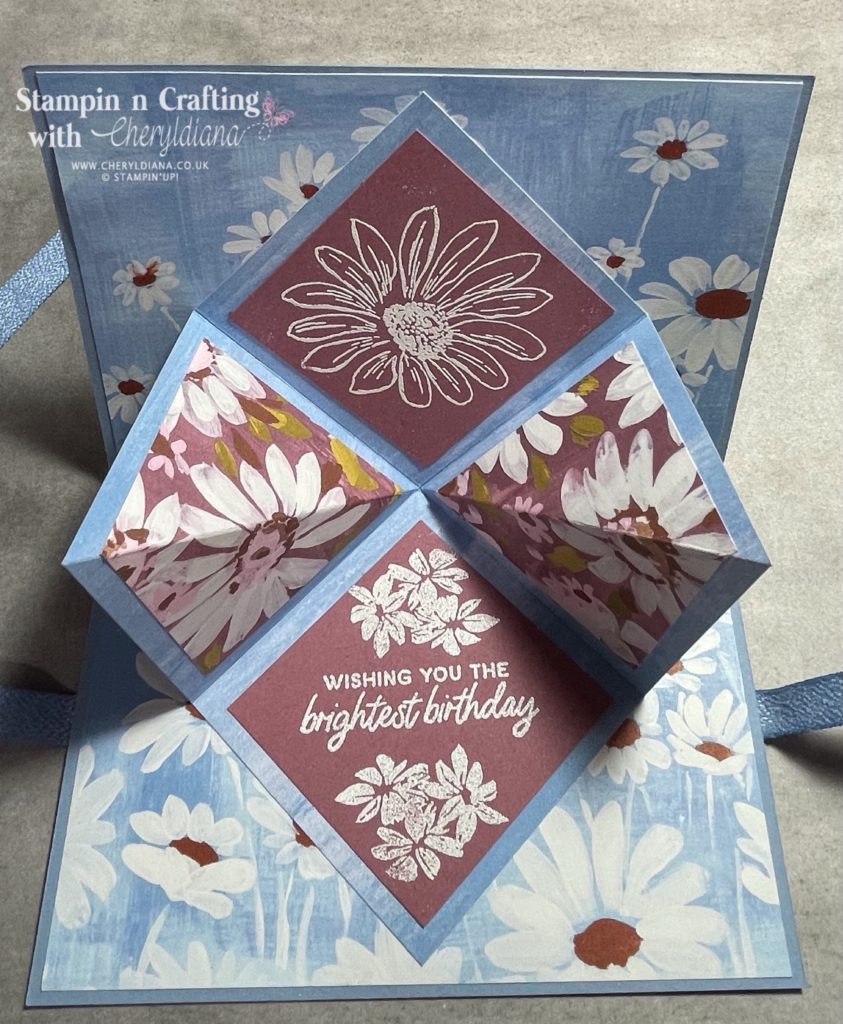
Using another piece of the blue patterned DSP I cut and scored it to make a diamond. I added two squares of another piece of Fresh as a Daisy DSP and stuck it to the folded squares. Next I cut two squares using Moody Mauve card stock. On one I stamped the large daisy outline in Versamark Clear ink and heat embossed with White Embossing Powder. On the orther square I stamped the sentiment and the cluster of whole daisies again using Versamark Clear ink and heat embossed again using White Embossing Powder.
How I finished off the back of the Diamond Pop Up Birthday Card.
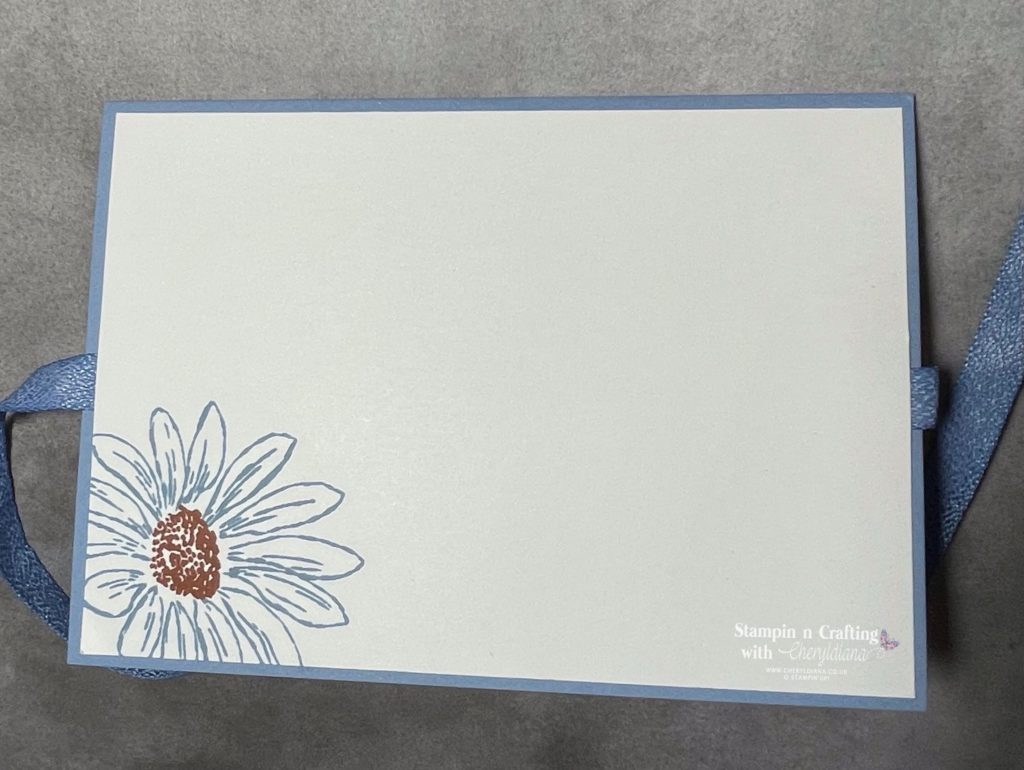
For the back of the card I cut a Basic White mat layer and then I stamped the large daisy outline image using Boho Blue ink and then I stamped the centre using Copper Clay ink to match the inside Designer Series Paper. I then cut a piece of Boho Blue Ribbon and stuck it to the back of the card before adding the stamped mat layer.
I love how easy this card was to make and how amazing it looks when finished. As I have not heat embossed a card for a while I thoroughly enjoyed using this technique again. Why not have a go at doing some heat embossing on a card and share it onto my Facebook page or even email a photo of it to me.
Until next time, keep stampin n crafting,

Please click on the names below to visit each website and see what lovely projects the others have designed for their XXXXXX Blog Hop. Please do leave comments as you visit each one. Thank you.
Blog Hop List
Product List
ADDITIONAL INFORMATION
- Request a free catalogue – click to request a Stampin’ Up! catalogue on the Contact me at the top of my home page.
- Go straight to my On-Line Shop
- April’s Shop code is QNFCYZXW – Please use this when your order is less than £149
- If your order is over £150, please do not use this code.
- Remember when placing a large order or wanting to host a party then you will also get Stampin’ Rewards for any orders or party orders over £150.
- Coordinating Bundles – Save 10% on stamp sets and with matching dies or punches
- Grab a bargain at the Clearance Rack – Save up to 60% ‘whilst stocks last’
- Newsletter – Sign up for my newsletter, classes and latest special offers by clicking on the button on the right hand side of your screen
- Join Now – Get £130 worth of products for only £99. Choose from current catalogues and any specials available. Free shipping and special demonstrator benefits





Really nice showcase of the new In Colours Cheryl and great fold card !