
Welcome to this month’s Tech 4 Stampers Academy Blog Hop
The theme this month is using a favourite technique
As many of you will know I do love a bit of colouring so the technique I have chosen to show you is how I made these Halloween cards using the faux silk technique.
How I made my Halloween cards using the faux silk technique
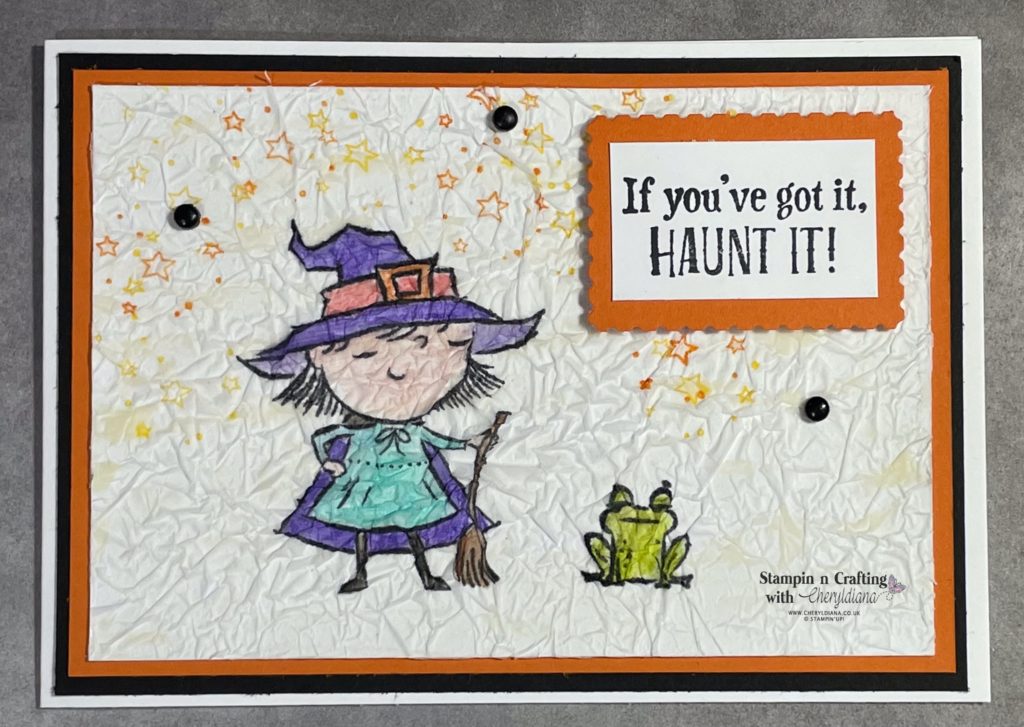
I started by cutting two 9cm x 13.3cm pieces of Basic White card stock for my stamped mat layer. Next I cut two pieces of white tissue paper a bit larger than my stamped mat layers. I then stamped the witch images and the frog image from the Best Witches stamp set onto each piece of white tissue paper using Black Memento ink. I then put these to one size to dry.
Next using the Water Colouring Pencils I coloured in the stamped images. I then went over the Water Coloured colouring with a Blender pen. Next I stamped the star image using Pumpkin Pie ink and Mango Melody ink. I then put these to one side to dry.
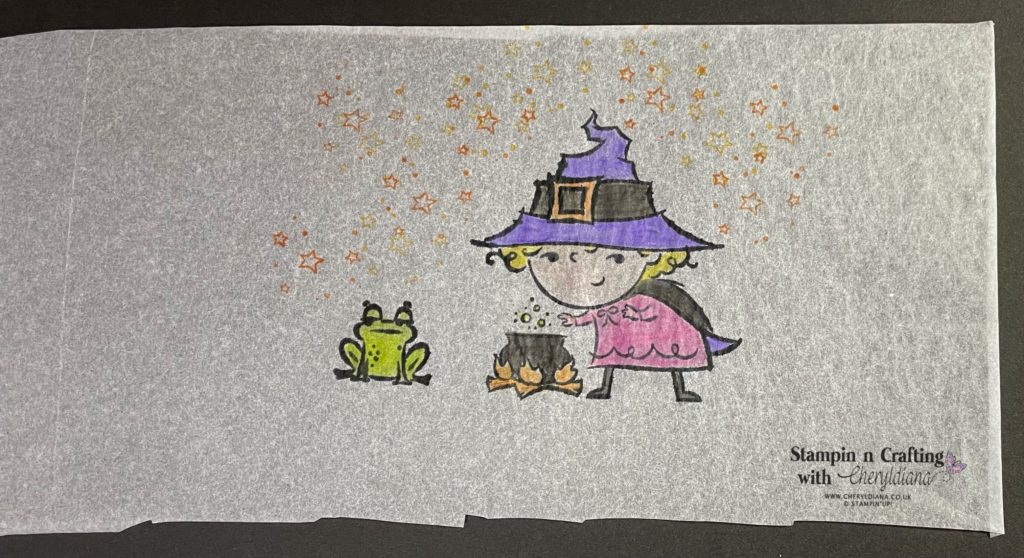
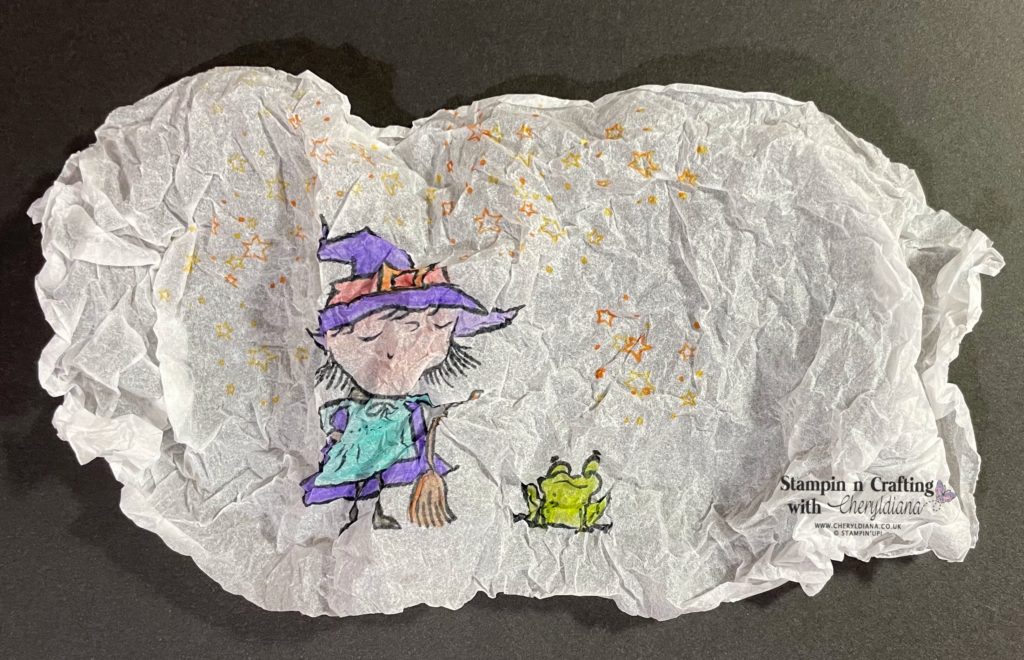
Next I scrunched up each piece of tissue paper into a ball and carefully opened them up. I then spread Multi Purpose Glue over the mat layer. To make it easier to spread the glue I used the fat end of the glue. I then stuck the tissue paper onto the mat layer so that the mat layer was covered. This makes the faux silk effect.. Again I put these to one side to dry.
Whilst they were drying I cut two 9.5cm x 13.8cm pieced of Pumpkin Pie card stock and two 10cm x 14.3cm pieces of Basic Black card stock. I then stuck the Pumpkin Pie mat layer onto the Basic Black mat layers and added them to a Basic White card base.
To finish off my Halloween Faux Silk Cards
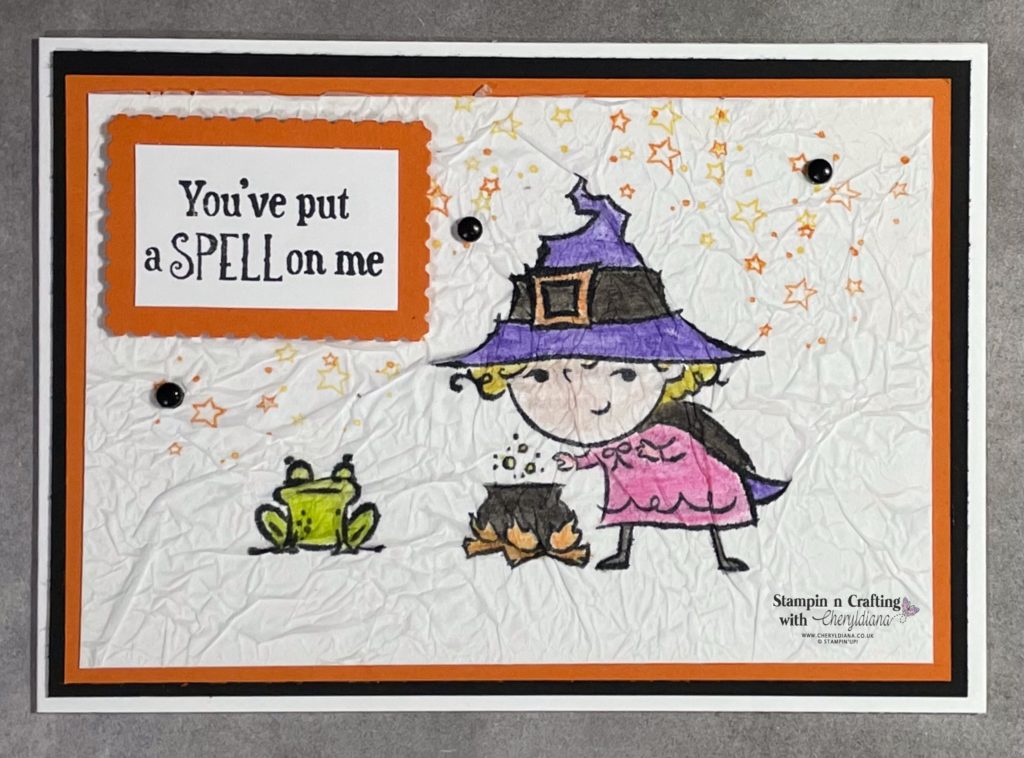
Once the stamped mat layer was dry I trimmed them using scissors before sticking them onto the Pumpkin Pie mat layers. I then punched out shapes using the Rectangular Postage Stamp Punch and Pumpkin Pie card stock. Next I stamped the two sentiments from the Best Witches stamp set onto Basic White card stock using Black Memento ink. I stuck the stamped sentiment onto the punched shape and added to the cards using Stampin’ Dimensionals.
Finally I stuck some black Classic Matte dots onto each card.
I hope you have enjoyed both seeing my Halloween cards and learnt how to do the faux silk technique. Why not have a go yourself. You can use any stamp set and coloured ink if you do not have any Water Colouring Pencils. Please do share your cards on my Facebook page. I’m off to see if this technique works with our Stampin’ blends.
Until next time, keep stampin n crafting,

Thank you for visiting my website today. Please click on the list below to visit the other members of the Tech 4 Stampers Academy and see what their favourite technique is. Please do leave comments as you visit each one.
Blog Hop List
Product List
Product ListADDITIONAL INFORMATION
- Request a free catalogue – click to request a Stampin’ Up! catalogue on the Contact me at the top of my home page.
- Go straight to my On-Line Shop
- April’s Shop code is QNFCYZXW – Please use this when your order is less than £149
- If your order is over £150, please do not use this code.
- Remember when placing a large order or wanting to host a party then you will also get Stampin’ Rewards for any orders or party orders over £150.
- Coordinating Bundles – Save 10% on stamp sets and with matching dies or punches
- Grab a bargain at the Clearance Rack – Save up to 60% ‘whilst stocks last’
- Newsletter – Sign up for my newsletter, classes and latest special offers by clicking on the button on the right hand side of your screen
- Join Now – Get £130 worth of products for only £99. Choose from current catalogues and any specials available. Free shipping and special demonstrator benefits





Gorgeous cards and beautiful colouring, I love this technique.
Hi Cheryl, this is a new technique for me! It is a really neat effect. Thanks for sharing your fabulous work! TFS-June
Omg! I have never seen this. Time to play. Thank you. Fabulous cards and technique x
Thanks for the reminder! I haven’t done this for years! Great Halloween card! tfs, Cheryl