
Welcome to this month’s Ink, Stamp, Share Monthly Showcase Blog Hop
For my Showcase project this month I have been inspired by a fellow demo Pip Todman who shared a tutorial on how to make a book fold card. I decided to use the Celebrate Everything Designer Series Paper which is a Hostess product when you order £150 of product. I do tend to miss these products in each catalogue.
How I made my Book Fold Card
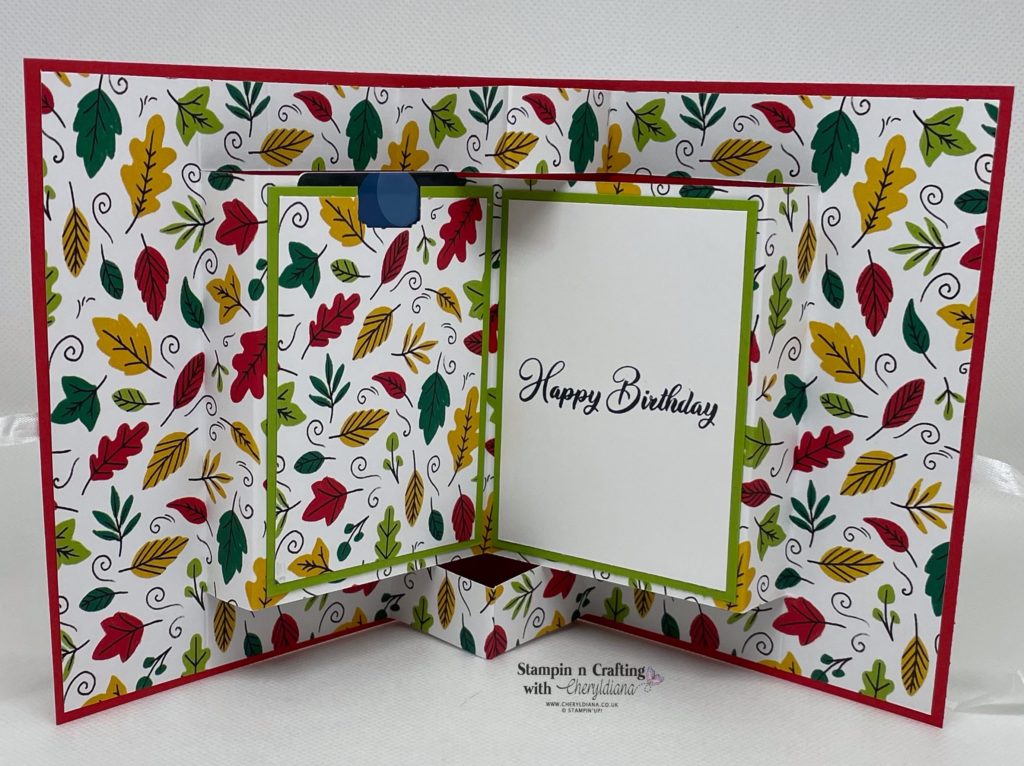
I started by cutting a 14cm x 28cm piece of Poppy Parade card stock and a 14cm x 28cm piece of designer series paper. I then scored the card in half to make a 14cm x 14cm card base. Next I scored the designer series paper to make the inside.
I then wrapped a length of White Crinkled seam binding around the card leaving enough to tie a bow. Next I cut a piece of the same designer series paper for the front cover and stuck it to the card front over the White Crinkled Seam Binding. I then cut another piece the same size of Basic White card stock for the back cover.
How I made the front cover of the autumnal happy birthday book fold card
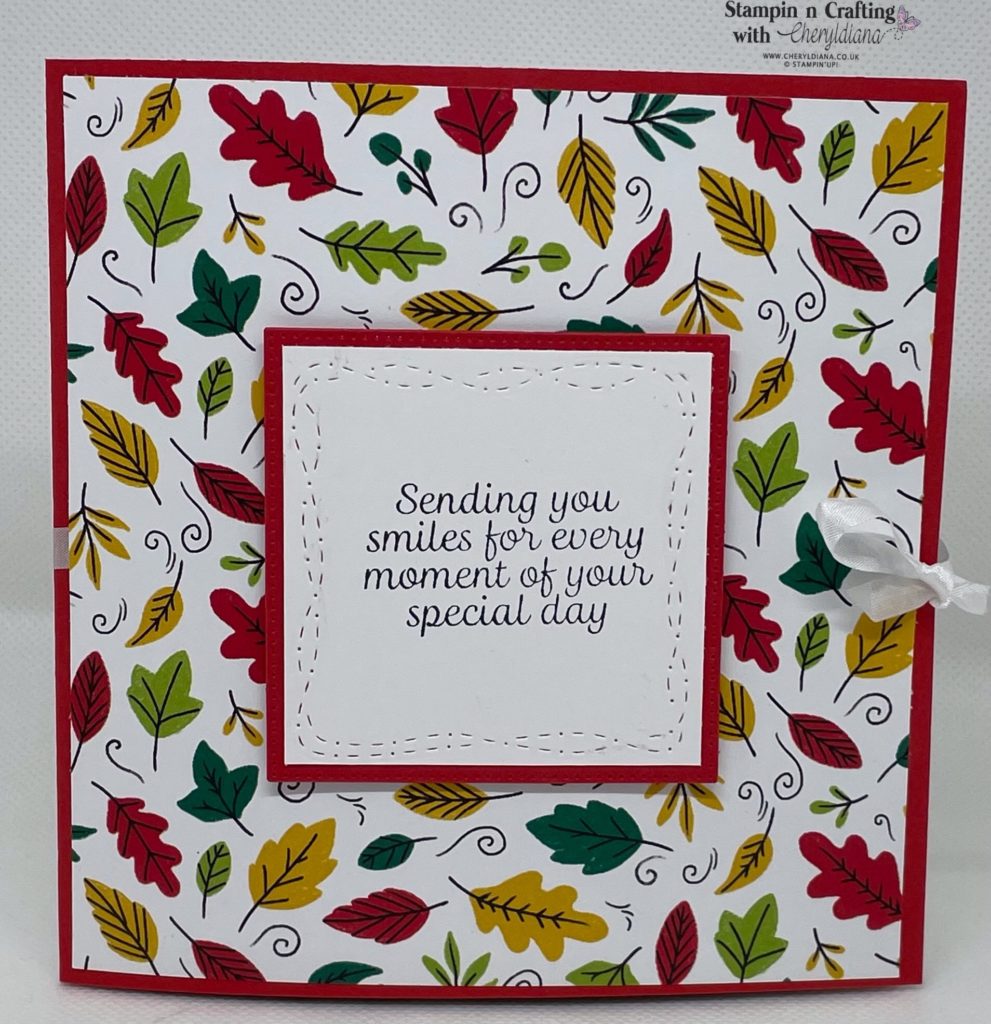
To finish off the front cover I die cut a smaller square using the Stylist Shapes dies and Poppy Parade card stock. Next I cut a piece of Basic White card stock slightly smaller. I then stamped the sentiment from the Very Best Occasions stamp set and Black Memento ink. I then decided to use the square die from the Stitched with Whimsy to add a border to the square. This was then stuck onto the {Poppy Parade square before adding to the front cover.
How I finished off the inside of the autumnal happy birthday book fold card
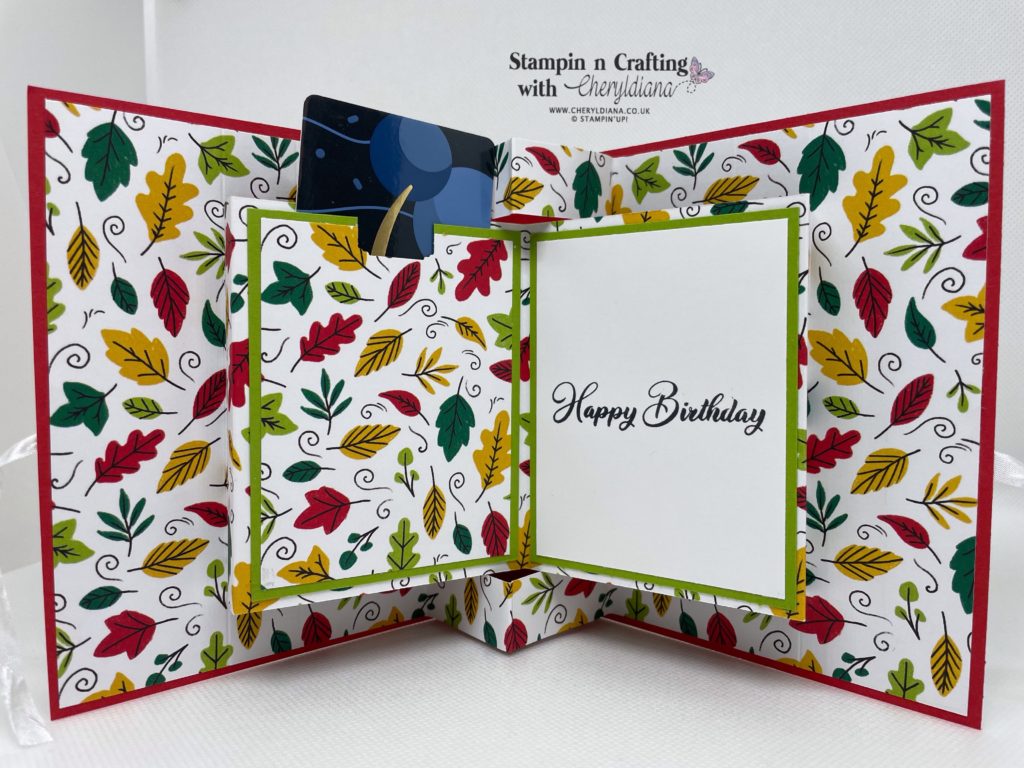
I decided that I would add a pocket to take a gift card to the inside of the book fold card. To do this I cut a mat layer from Granny Apple Green card stock. Next I cut a smaller mat layer using of Basic White card stock and a slightly smaller mat layer using a piece of matching designer series paper. I used the Best Label Punch to punch a notch to pull the gift card out of the pocket. I had to remember to only glue the sides and the bottom so I could slide in the gift card in the top.
Next I cut a matching mat layer in Granny Apple Green card stock and Basic White card stock. I then used the Happy Birthday stamp from the Go To Greetings stamp set using Black memento ink. These I then stuck onto the right hand side panel.
I hope you have loved seeing my autumnal happy birthday book fold card. Why not have a go yourself and share your finished project onto my Facebook page.
Until next time, keep stampin n crafting,

Please click on the NEXT button to visit the wonderful Gez and see what lovely project she has chosen to showcase this month.

Blog Hop List
Product List
ADDITIONAL INFORMATION
- Request a free catalogue – click to request a Stampin’ Up! catalogue on the Contact me at the top of my home page.
- Go straight to my On-Line Shop
- May’sShop code is 3KEQXBG3 – Please use this when your order is less than £149
- If your order is over £150, please do not use this code.
- Remember when placing a large order or wanting to host a party then you will also get Stampin’ Rewards for any orders or party orders over £150.
- Coordinating Bundles – Save 10% on stamp sets and with matching dies or punches
- Grab a bargain at the Clearance Rack – Save up to 60% ‘whilst stocks last’
- Newsletter – Sign up for my newsletter, classes and latest special offers by clicking on the button on the right hand side of your screen
- Join Now – Get £130 worth of products for only £99. Choose from current catalogues and any specials available. Free shipping and special demonstrator benefits







Great idea for gift card holder, always useful esp this time of year
Lovely card, great fun fold 🙂
A beautiful autumn card, thanks for sharing x
Lovely card x
Great fun fold Cheryl, love that it is a gift card holder as well x