
Welcome to this month’s Tech 4 Stampers Academy Blog Hop.
This month’s theme is: White Christmas.
This month’s theme really made me think about what White Christmas actually meant to me so I decided to show you 3 ways to make a White Christmas card. My first card I chose to use mainly white as the colour with a very neutral colour as an accent. My second and third cards I decided to make a snowy scene by using Craft Stampin’ Ink (white) ink.
3 ways to make a White Christmas Card – card 1
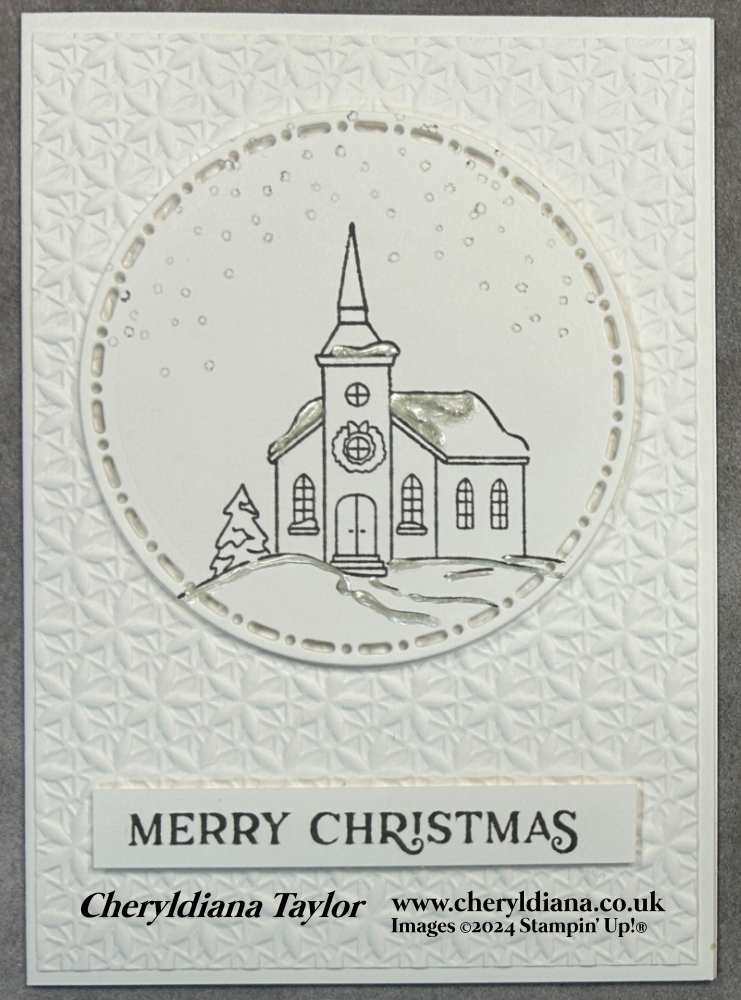
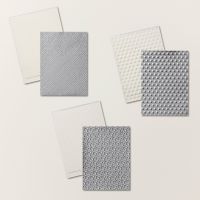
First I cut a Basic White Thick portrait card base and a Basic White mat layer. I embossed the Basic White mat layer using the snowflake/flower embossing folder from the Basics 3D embossing folders and stuck it onto the card base.
Next I stamped the church from the Yuletide Village stamp set onto Basic White card using Basic Gray ink. I then stamped the snow onto the top part of the card using Basic Gray ink but I stamped it off first onto a piece of paper before stamping onto the card.
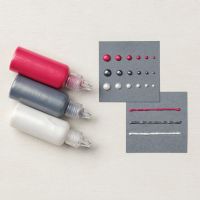
Then using the white from the Pearlized Enamel Effects Basics I coloured in the snow and put to one side to dry.
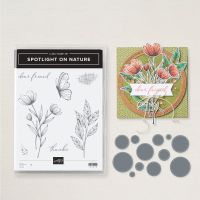
Once dry I die cut the church using one of the circles from the Spotlight on Nature dies and stuck it onto the card front using Stampin’ Dimensionals.
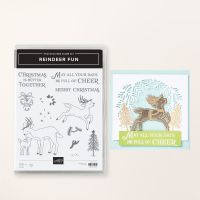
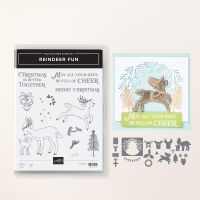
Next I stamped the ‘Merry Christmas’ sentiment from the Reindeer Fun stamp set onto Basic White card using Basic Gray ink and added it to the card front again using Stampin’ Dimensionals.
3 ways to make a White Christmas Card – card 2
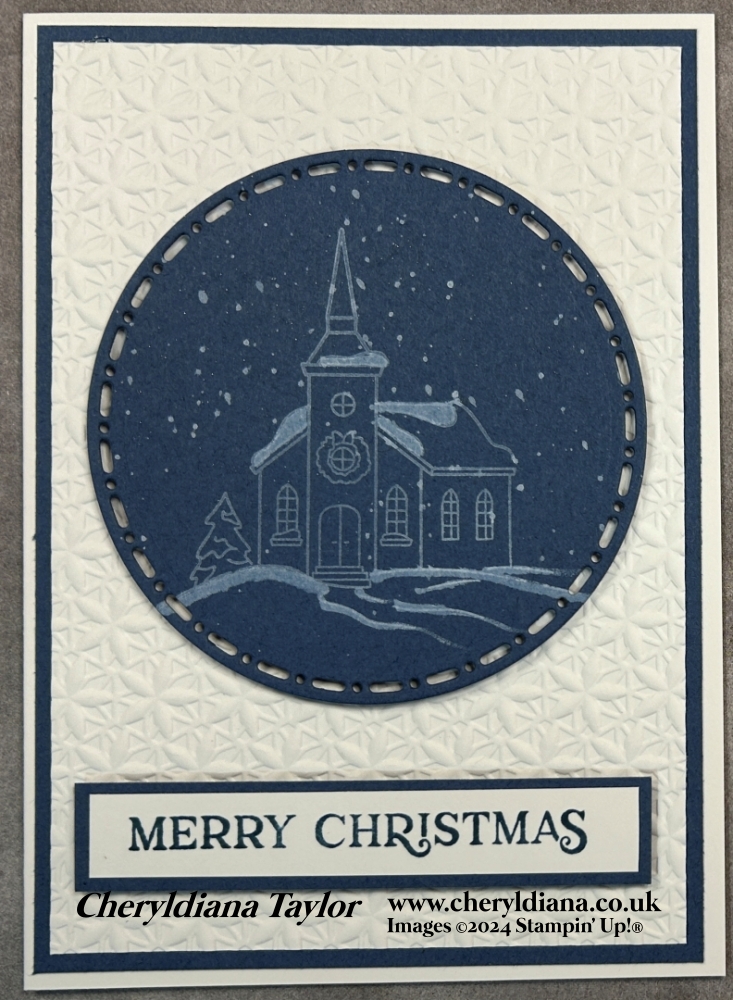
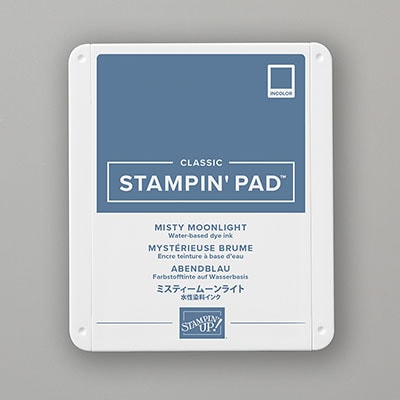
First I cut a Basic White Thick portrait card base and a Basic White mat layer. Then I cut a Misty Moonlight mat layer and stuck it onto the card base. I then embossed the Basic White mat layer using the snowflake/flower embossing folder from the Basics 3D embossing folders and stuck it onto the Misty Moonlight may layer.
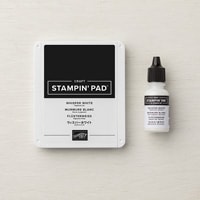
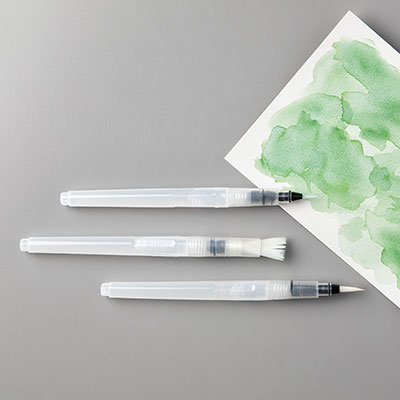
Next I stamped the church from the Yuletide Village stamp set onto Misty Moonlight card using Craft Stampin’ ink. I then put a drop of Craft Stampin’ ink onto a stamp block and painted the snow using a Water Painter.
I then die cut out the stamped image again using one of the circles from the Spotlight on Nature dies.
Next I splatted the ink over the stamped image to make snow. I then repeated this by splattering Wink of Stella which added some sparkle.
Next I stamped the ‘Merry Christmas’ sentiment onto a strip of Basic White card stock using Misty Moonlight ink. I stuck the stamped sentiment onto a strip of Misty Moonlight card stock before adding both stamped images to the card front using Stampin’ Dimensionals.
3 ways to make a White Christmas Card – card 3
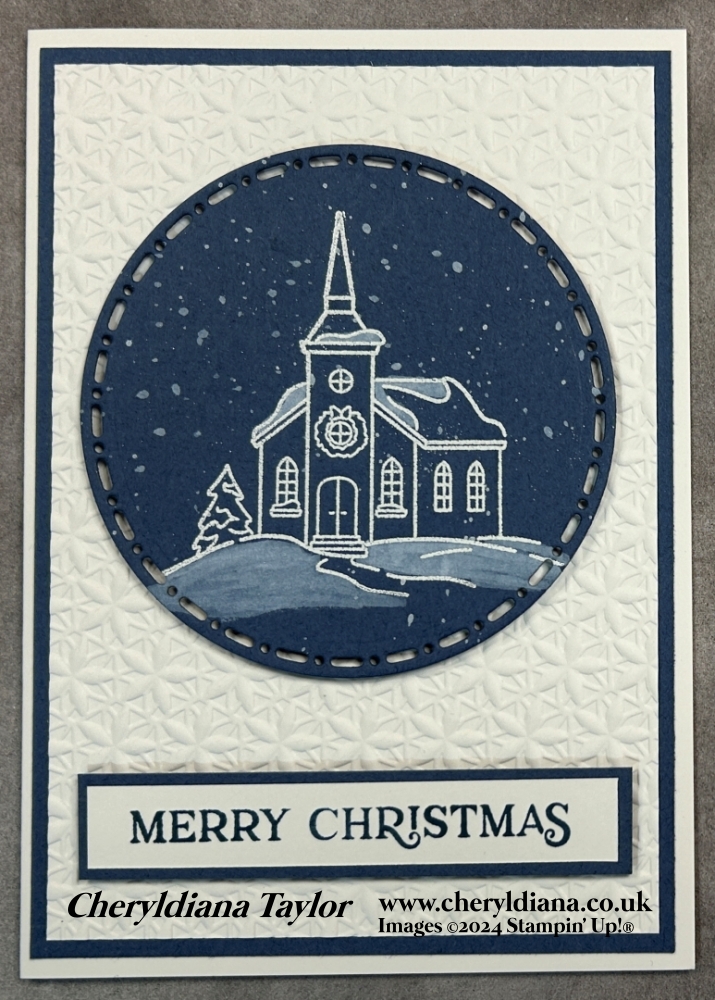
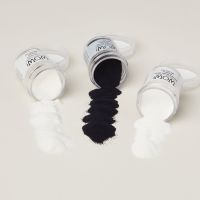
My third card is made very similarly to Card 2. Instead of stamping the church image in Craft Stampin’ ink I stamped it using Versamark ink. I then heat embossed it using White embossing powder. Yes I did remember to rub my card stock using a Stamping Buddy before stamping the image.
Again I coloured in the snow using Craft Stampin’ ink and splattered Craft Stampin’ ink and Wink of Stella over it to make snow flakes.
I finished off the card in the same way as I did for Card 2.
I am really pleased with how my 3 ways to make a White Christmas card turned out. Which one is your favourite one? Mine is card 3 and I might be using this card for this year’s Christmas cards.
Click Here for my Facebook Page.
Until next time, keep stampin n crafting,

Please click on the names below to visit each website and see what lovely projects the others have designed for their White Christmas Blog Hop. Please do leave comments as you visit each one. Thank you.
Blog Hop List
Product List
FREE TUTORIAL WITH EVERY ORDER
When shopping through my Stampin’ Up! online shop, you will receive an FREE TUTORIAL of 6 simple card ideas. Learn more!

Spend over £45 (before postage and packing) and also receive another FREE Tutorial with 14 more detailed giftable ideas. Learn more!

Wish to Order. Click here to shop
Thank you for shopping with me!
Remember for every order over £20.00 you will receive 10% rewards to use on your next order.
- Why not grab a bargain at the Last Chance Products – Save up to 60% ‘whilst stocks last’.
- For beginner crafters, crafting on the move or as a gift then have a look at our Kits Collection. Each month there are two NEW Kits to choose from.
- For even more options on top of what is in the catalogue have a look at the Online Exclusive selection.

I am an Independent Stampin’ Up! demonstrator for the UK, Ireland, France, Belgium, The Netherlands, Germany and Austria.
Postage is a flat rate of £6.95 / €7.95. Shop for your Stampin’ Up! products here.
Do you need any help?
If you have any questions or need any help with an order then please email me.
Join my Team with a Starter Kit
I would love you to join my team of A Kaleidoscope of Stampers. We are a wonderful, friendly group of crafters who love getting discounts on our hobby or even run a part time or full time business sharing Stampin’ Up! products.
You can find out more here or join straight away.


















Fab techniques for each card, tfs,
I love your cards Cheryl.
Love all three cards, lovely.