Welcome to this month’s Stamptastic Friends Blog Hop.
This Month’s Theme is: Christmas Card.
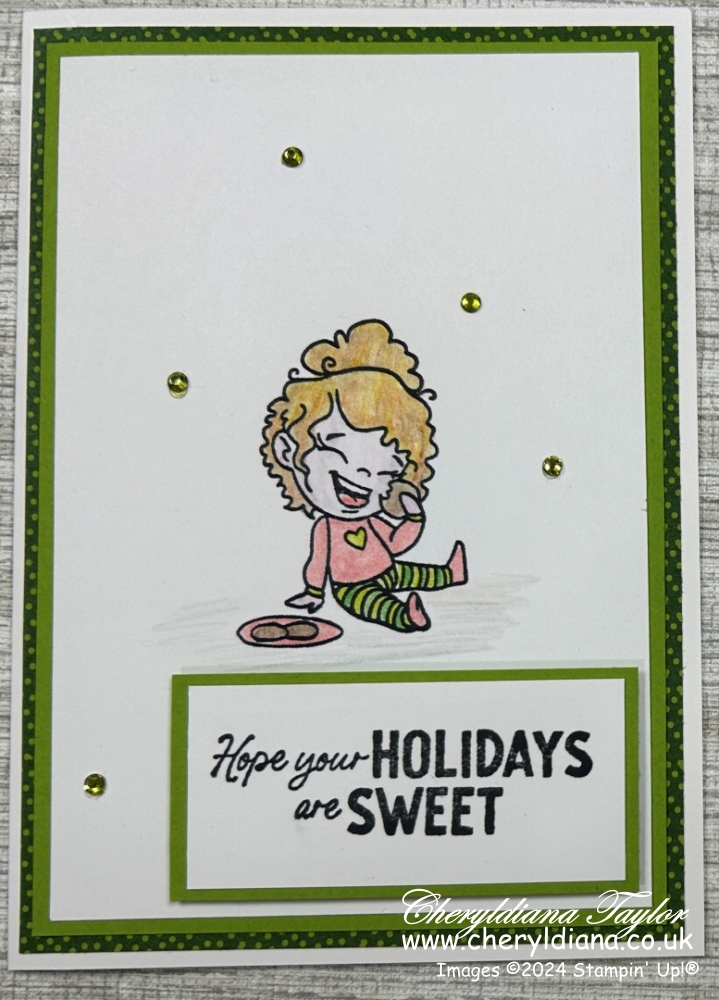
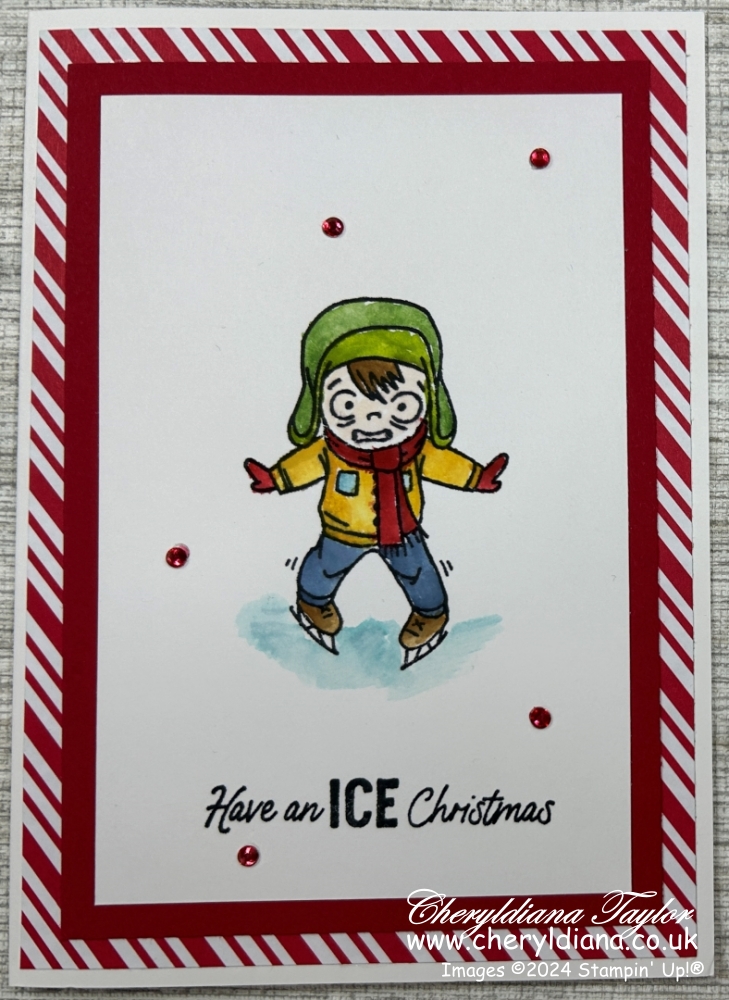
This month I have decided to show you 2 colouring techniques for Christmas cards though you can use these colouring techniques for any greeting card.
Colouring Techniques for Christmas cards – water colour pencils and Blender Pen

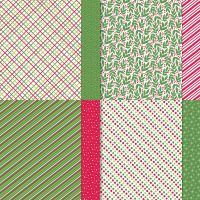
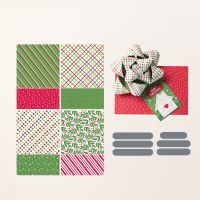
First I cut Basic White Thick card stock in half to make a portrait card base. Next I cut a mat layer using the Take A Bow designer series papers. I then cut another mat layer this tome using Garden Green card stock and stuck these mat layers onto the card front.
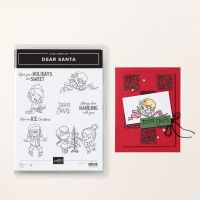
Next I cut another mat layer using Basic White card stock and stamped the skater image from the Dear Santa stamp set in the middle of the mat layer. I used Black Memento ink to stamp the image and let it dry before colouring it in.
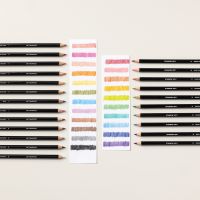
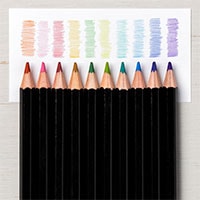
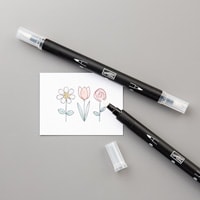
I then coloured in the stamped image using water colouring pencils and once coloured in I use a Blender Pen to blend in the pencil strokes.
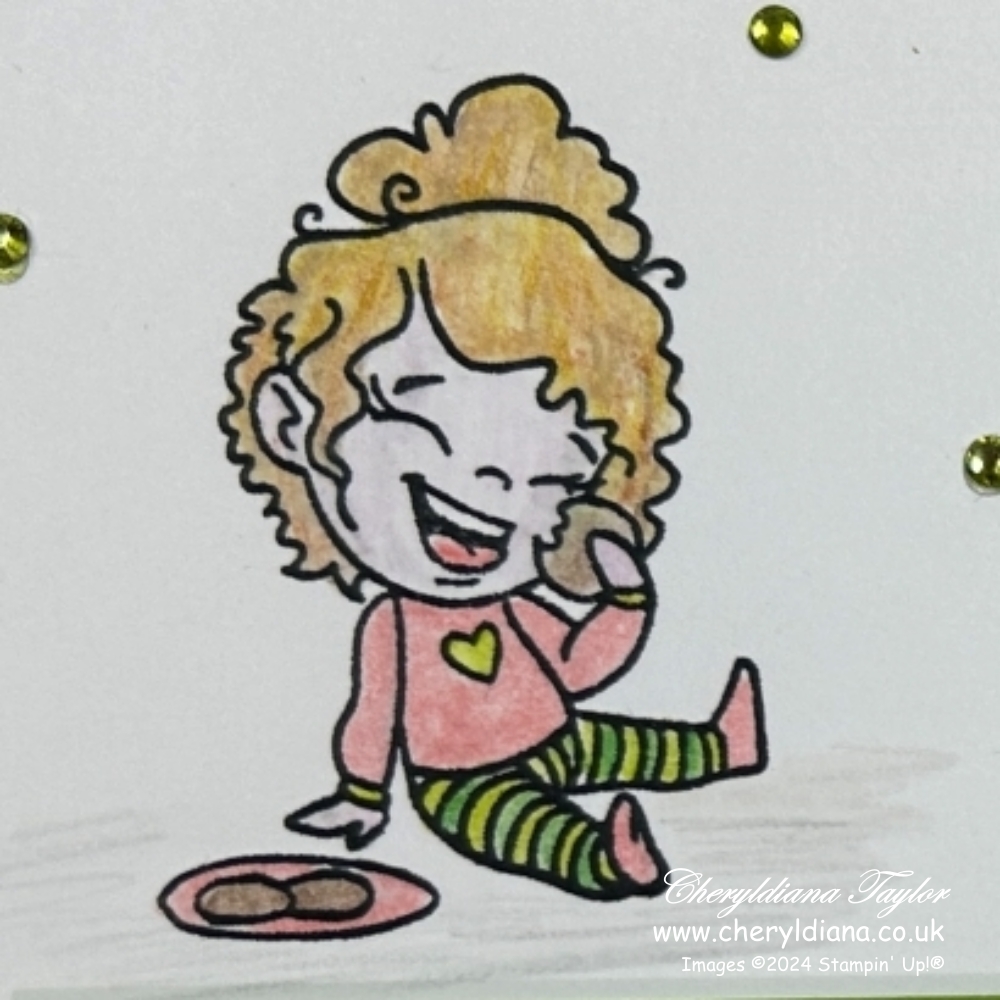
The colours I used were Cajun Craze, Early Espresso and Pecan Pie for her hair, Real Red for her jumper, socks and cookie plate, Garden Green and Granny Apple Green for her tights, Fresh Freesia for her face, hands and ear (I coloured very lightly so that it looked like a skin colour), and Early Espresso for the cookies.
Once I had coloured in my stamped image I used the Basic Grey eater colour pencil to add some shadow underneath her and again used the Blender Pen to blend it in.
I stamped the ‘Hope your HOLIDAYS are SWEET’ onto a piece of Basic White card stock using Black Memento ink I then added it to a Garden Green mat layer before adding to the bottom right-hand corner of the card front.
Finally I coloured in some Rhinestone Basic Jewels using the Dark Garden Green Blend before adding them to the card front.
Colouring Techniques for Christmas cards – Ink pad and Water Painter

First I cut Basic White Thick card stock in half to make a portrait card base. Next I cut a mat layer using the Take A Bow designer series papers. I then cut another mat layer this tome using Real Red card stock and stuck these mat layers onto the card front.
Again I cut another mat layer using Basic White card stock and stamped the skater image from the Dear Santa stamp set in the middle of the mat layer. I used Black Memento ink to stamp the image and let it dry before colouring it in.
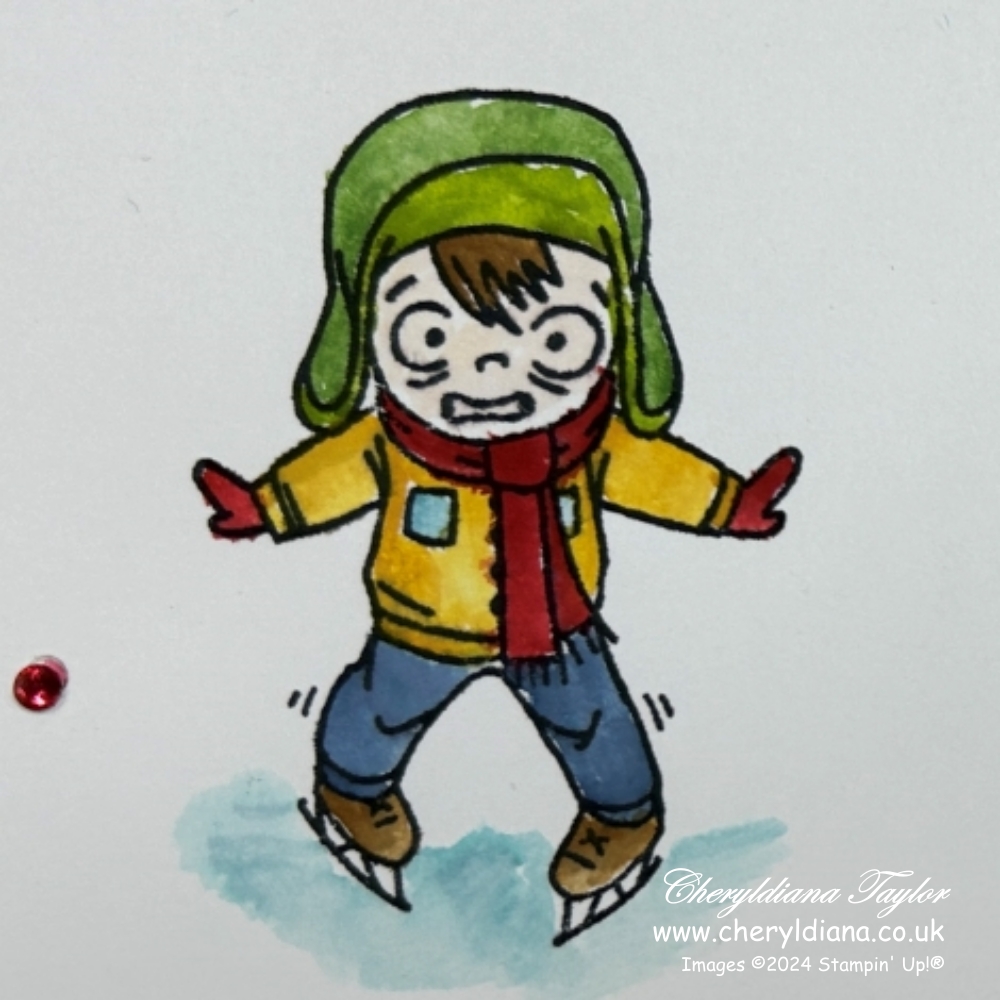
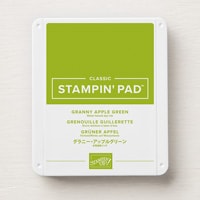
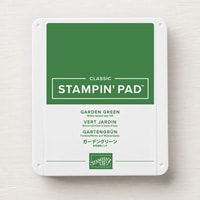
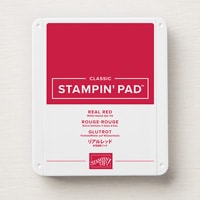
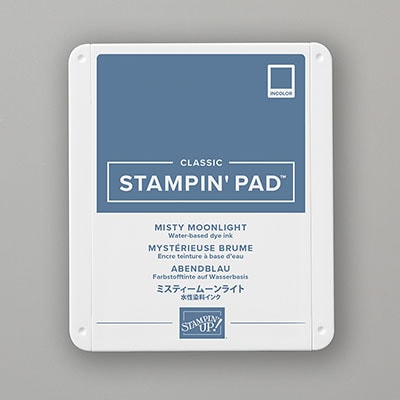
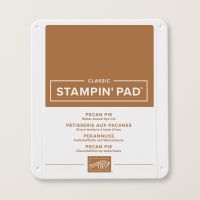
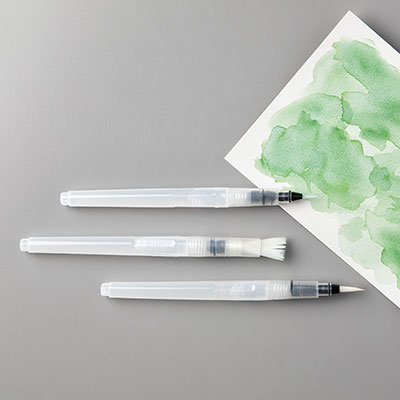
I then pressed the ink pad lid so that it gave me some ink on to the lid and then I used a Water Painter to add the ink to the stamped image. To colour in the image I used, Garden Green ink for the hat, Daffodil Delight ink for his hat, Misty Moonlight ink for his trousers, Real Red ink for his scarf and gloves and Pecan Pie ink for his skate boots. I added some Balmy Blue underneath the stamped image to look like ice and to ground the stamped image.
Next I stamped the ‘Have an ICE Christmas’ below the stamped image using Black Memento ink. I then stuck this mat layer onto the card front and finished off by again colouring some Rhinestone Basic Jewels using the Dark Real Red Blend.
I hope you have enjoyed reading how I coloured in both of these cards. If you want to follow along as I make them here is the link to my YouTube video.
Please do have a go at colouring in one of your stamped images and let me know which technique you prefer. Of course please share your makes onto my Facebook page as I would love to see what you have done.
Click Here for my Facebook Page.
Until next time, keep stampin n crafting,

Please click on the names below to visit each website and see what lovely projects the others have designed for their Christmas Card Blog Hop. Please do leave comments as you visit each one. Thank you.
Blog Hop List
Product List
FREE TUTORIAL WITH EVERY ORDER
When shopping through my Stampin’ Up! online shop, you will receive an FREE TUTORIAL of 6 simple card ideas. Learn more!
Spend over £45 (before postage and packing) and also receive another FREE Tutorial with 14 more detailed giftable ideas. Learn more!

Wish to Order. Click here to shop
Thank you for shopping with me!
Remember for every order over £20.00 you will receive 10% rewards to use on your next order.
- Why not grab a bargain at the Last Chance Products – Save up to 60% ‘whilst stocks last’.
- For beginner crafters, crafting on the move or as a gift then have a look at our Kits Collection. Each month there are two NEW Kits to choose from.
- For even more options on top of what is in the catalogue have a look at the Online Exclusive selection.

I am an Independent Stampin’ Up! demonstrator for the UK, Ireland, France, Belgium, The Netherlands, Germany and Austria.
Postage is a flat rate of £6.95 / €7.95. Shop for your Stampin’ Up! products here.
Do you need any help?
If you have any questions or need any help with an order then please email me.
Join my Team with a Starter Kit
I would love you to join my team of A Kaleidoscope of Stampers. We are a wonderful, friendly group of crafters who love getting discounts on our hobby or even run a part time or full time business sharing Stampin’ Up! products.
You can find out more here or join straight away.















Cute cards Cheryl and love the 2 colouring techniques you’ve used for them
Great ways to colour your images. Beautiful cards.